Assembling plastic Giant Spiders
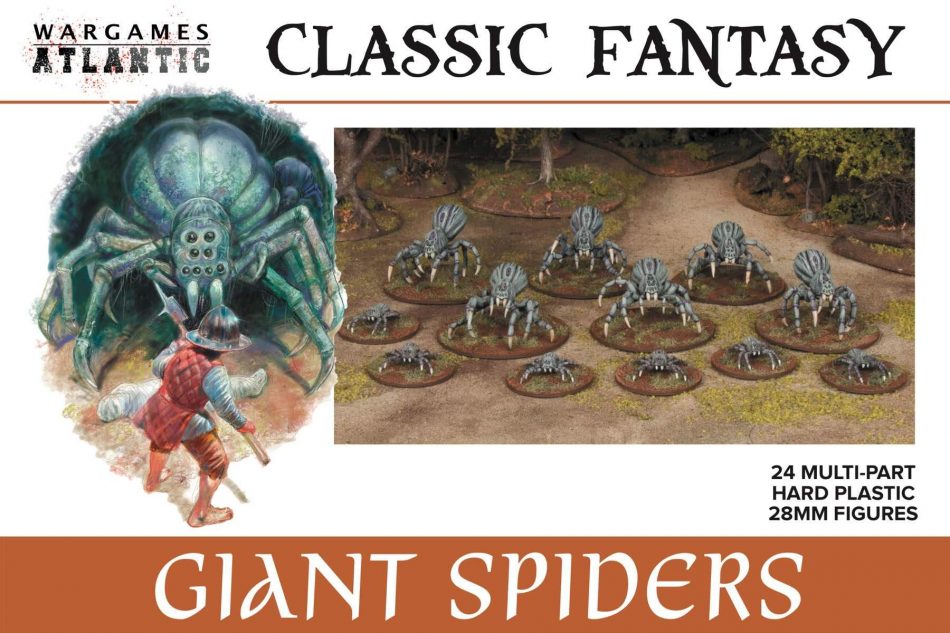
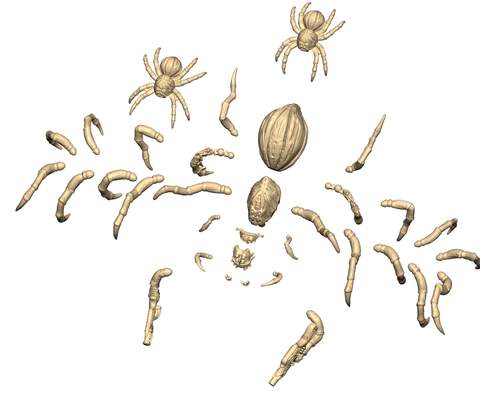
I recently received the Wargames Atlantic plastic spiders for review. The kit allows gamers to build twelve giant spiders, with small spiders and wrapped spider victims thrown in too! The kit only has one minor flaw, it has no instructions - but perhaps the box didn't need any.
When it comes to construction, surely you just stick the legs on? For me, it took a little trial and error to make up some good, realistic spider poses. So, I thought I'd share my experiences of building these creatures. I also shared a few sprues with my friend James for his thoughts.
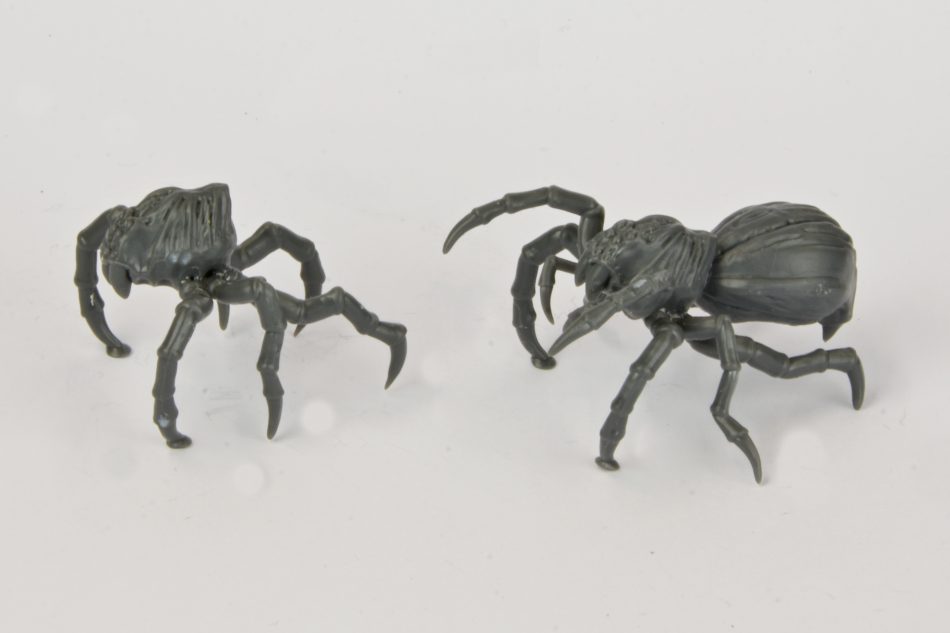
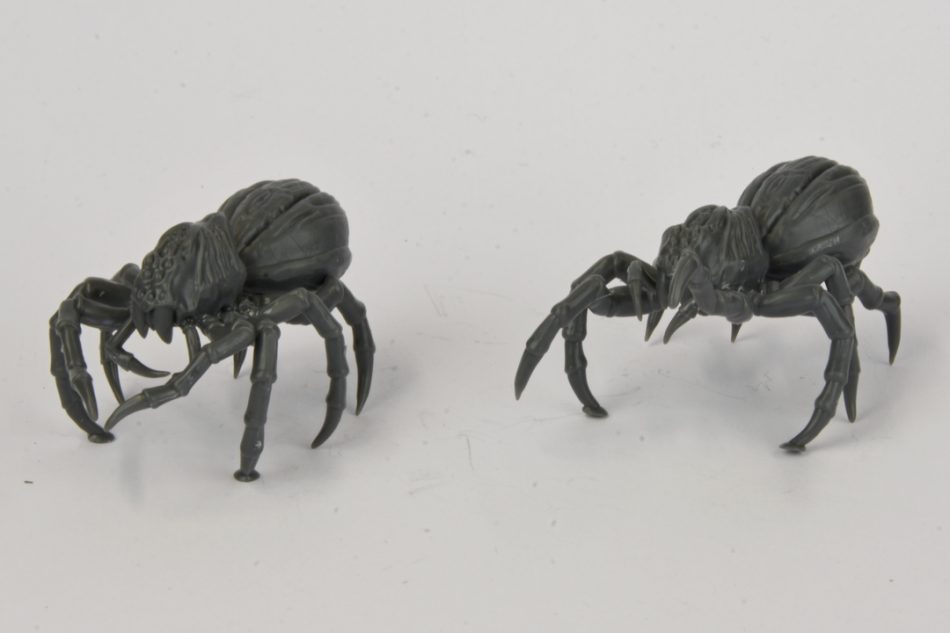
James recommended starting by sticking the thorax (cephalothorax) to the abdomen first, then turning the spider upside down and adding the legs. The only issue I had with this technique was the legs tend to set unevenly. I wanted my spiders' legs to touch the floor evenly.
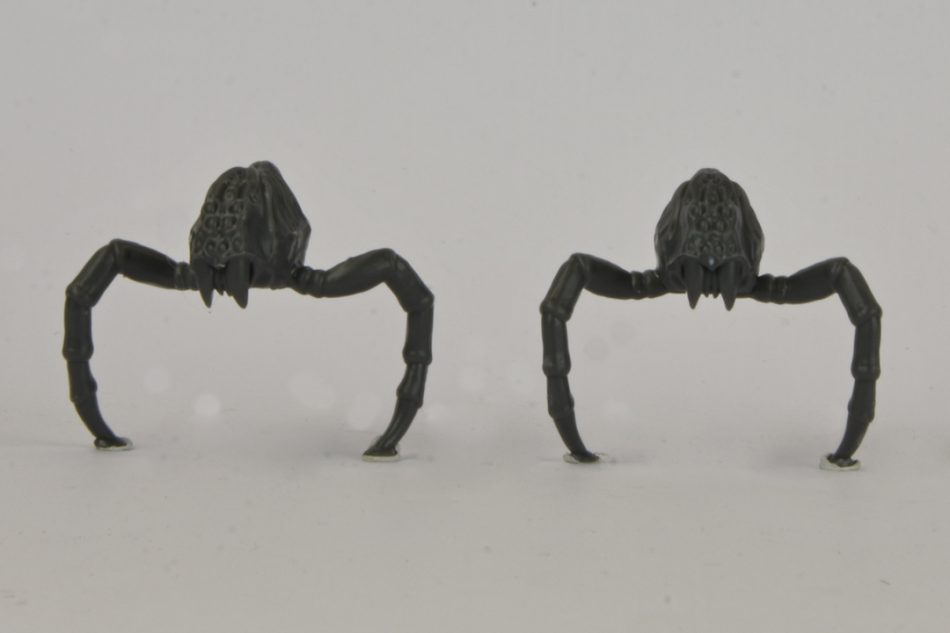
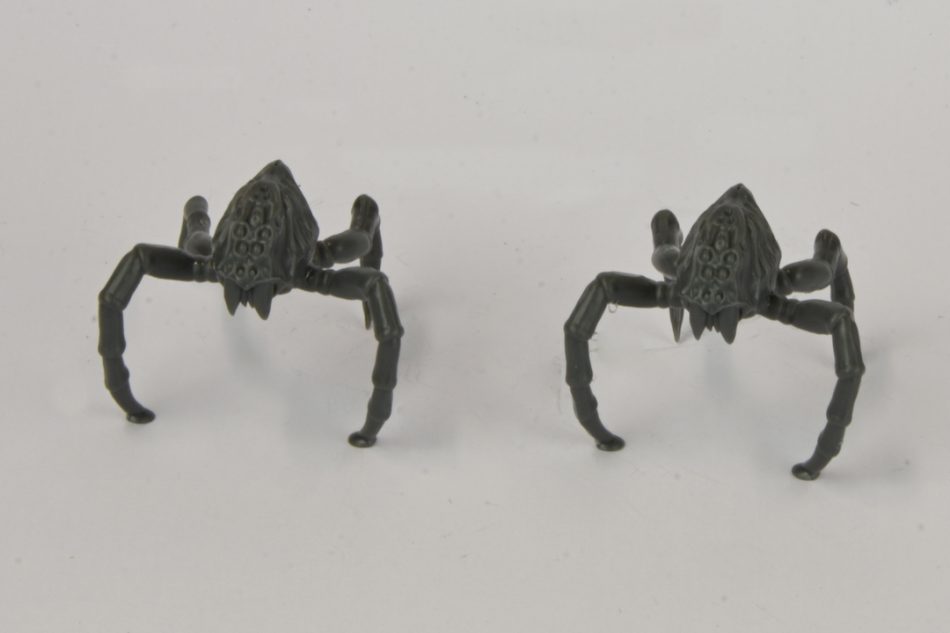
I started by assembling the two forelegs with the square pegs to the thorax. I usually positioned them facing forwards, unless I wanted the spider to look like it was moving. I left assembling the abdomen to last, as it is quite a weighty piece of plastic with only a small join.
Next, I assembled the rearmost legs, which should be the longer legs. As a rule, the side legs are shorter than the front or rear legs.
Once these legs had set, I had a stable spider with four points on the ground to work with. I could then add the final legs and pose them at my pleasure.
I am quite tempted to mess with the 'space spiders' further, giving them only six legs or increasing them to ten legs. They also look quite creepy without the abdomen.
Now to painting the spider horde. I was very impressed by Dicky Boyd's work on his spiders. Great colours and very characterful.

