Buffalo Soldiers - the US 92nd Infantry Division Part II
Recently (in Part I, here) I discussed starting a long-stalled project of mine, the US Buffalo Soldiers, fighting their way up through Italy in the face of opposition from both sides of the lines. Having now completed 36 of the troops, I'll now make good on my note to cover my painting process, as this is the first time I have used Citadel's Contrast Paints to paint a 20th Century force, and I've been blown away by its comparative speed!
Oh, and I'll put my inevitable excuses at the end as a footnote*, beyond pointing out that these are deliberately being painted as an exercise in me painting swiftly for a basic tabletop standard - I'm not claiming these are award-winning paint-jobs!
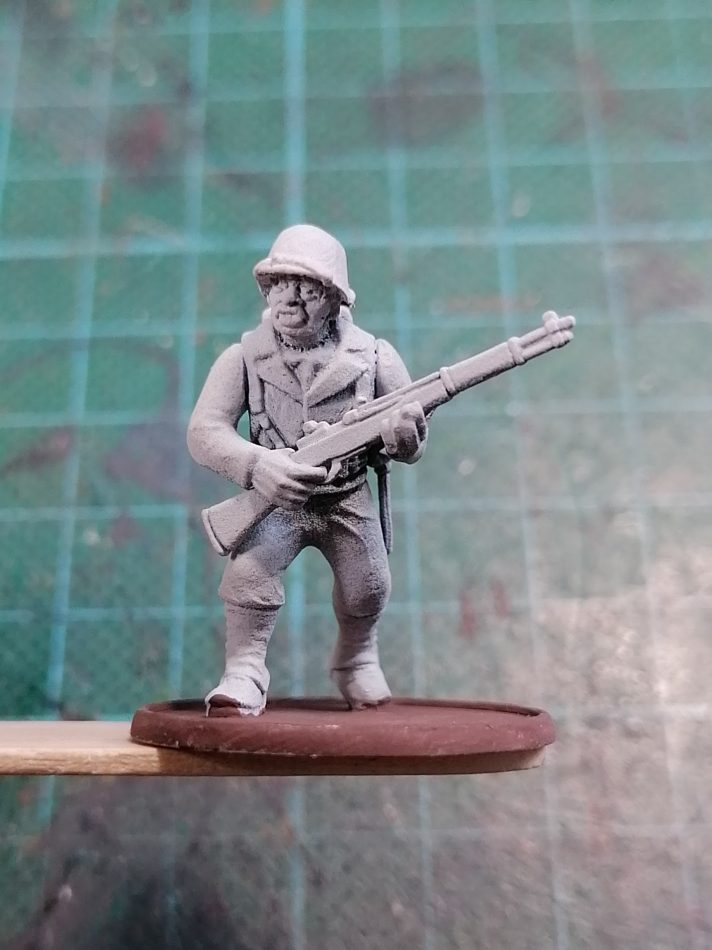
Step 1 - a rattlecan sprayed white primer (rather than my normal grey):
I've found two light coats give a brighter finish which is more useful for the contrast paints. I have no idea why it looks so grainy in the picture; it's actually a good smooth coverage.
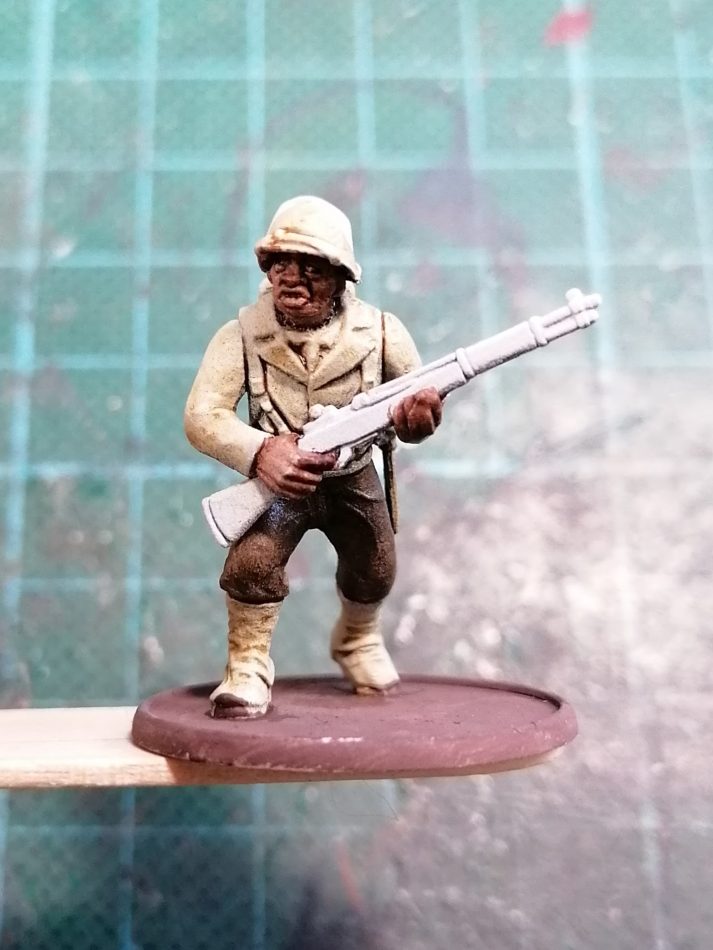
Step 2 - skin:
I followed Guy's empirical advice for this bit here and mixed Fireslayer Flesh with Cygor Brown 70/30.
Step 3 - trousers:
In this model's case, I've used Wyldwood, but my 92nd troops have a variety of different coloured 'pants' - from greens through khakis to browns like this.
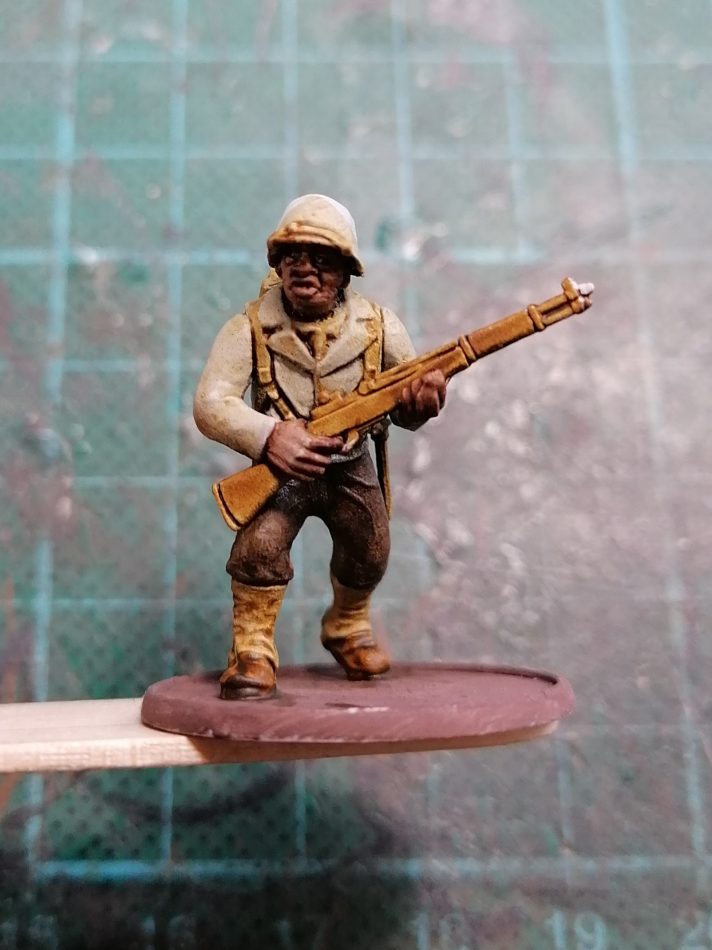
Step 4 - everything else except the helmet and the weapon:
Skeleton Horde. I've found through experimenting that it helps to have this as a base layer for some of the other bits, and it's quicker to just splash it around!
Step 5 - webbing, straps, bag, gaiters (and boots):
Agaros Dunes. The contrast 'pops' far more on the actual miniature.
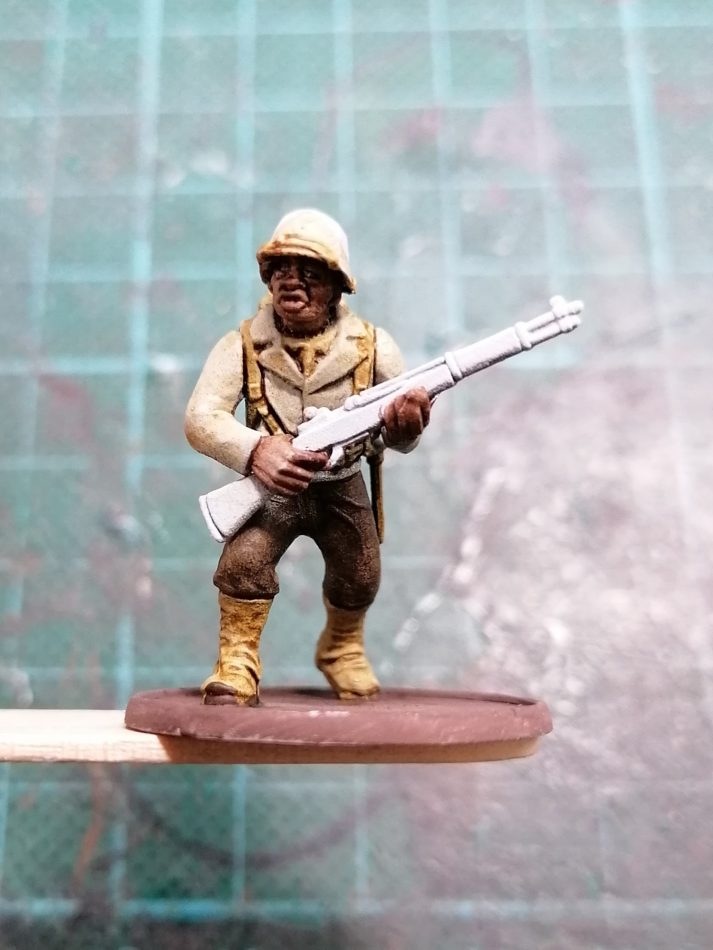
Step 6 - rifle furniture and boots:
A last layer over the leather of the boots: Snakebite Leather. Also, I swear I never knew what colour to paint rifles until these paints - I love the way they work on components like this and the gaiters' laces...
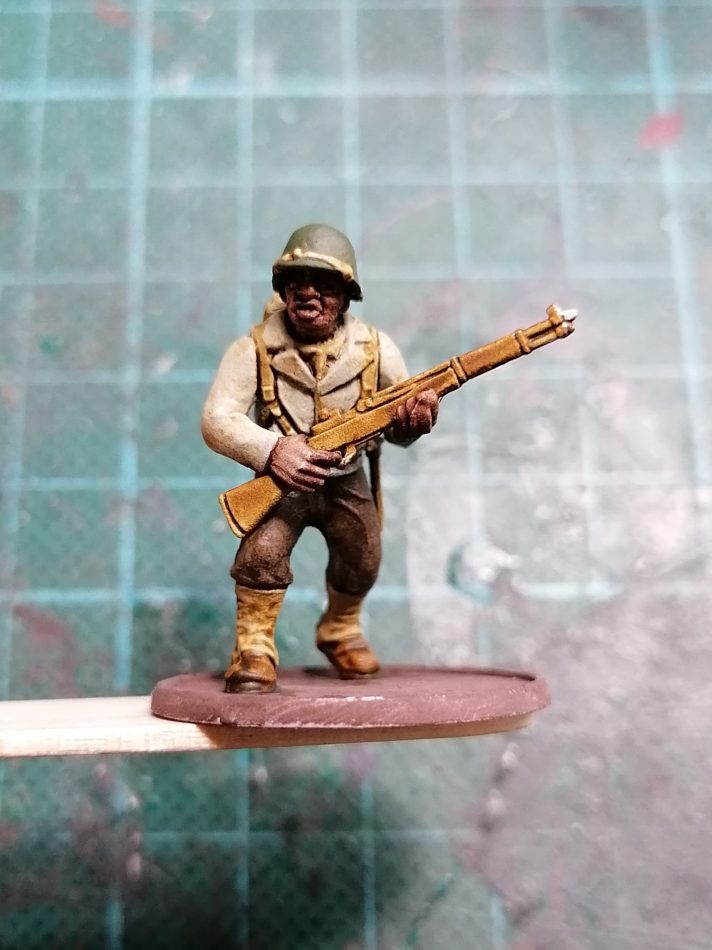
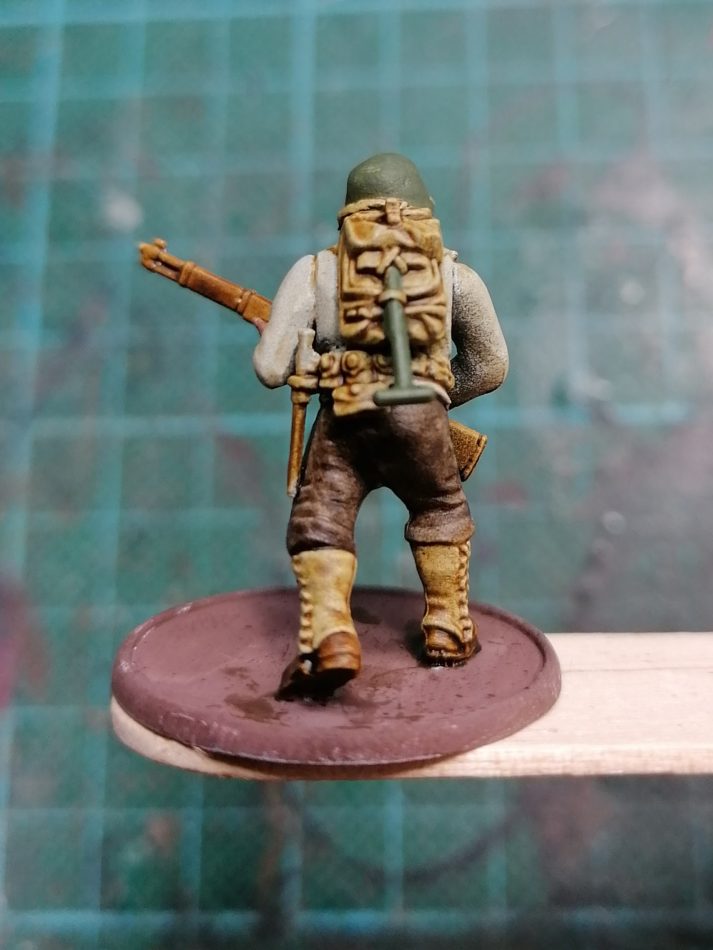
Step 7 - helmet, spade handle and 'buffalo' patch:
For this I really needed an opaque, flat, matte colour - Contrast paint just didn't sit right for me on the dome of the helmet - so I've gone for Vallejo's 'Flames of War' 890 Reflective Green. I also use this if I'm painting the divisional badge on the left arm rather than using decals.
Step 8 - rifle metal, hair and 'buffalo' patch:
(and with the helmet buckle...)
Again, a more traditional choice of paint for these quick details - Citadel's Abaddon Black.
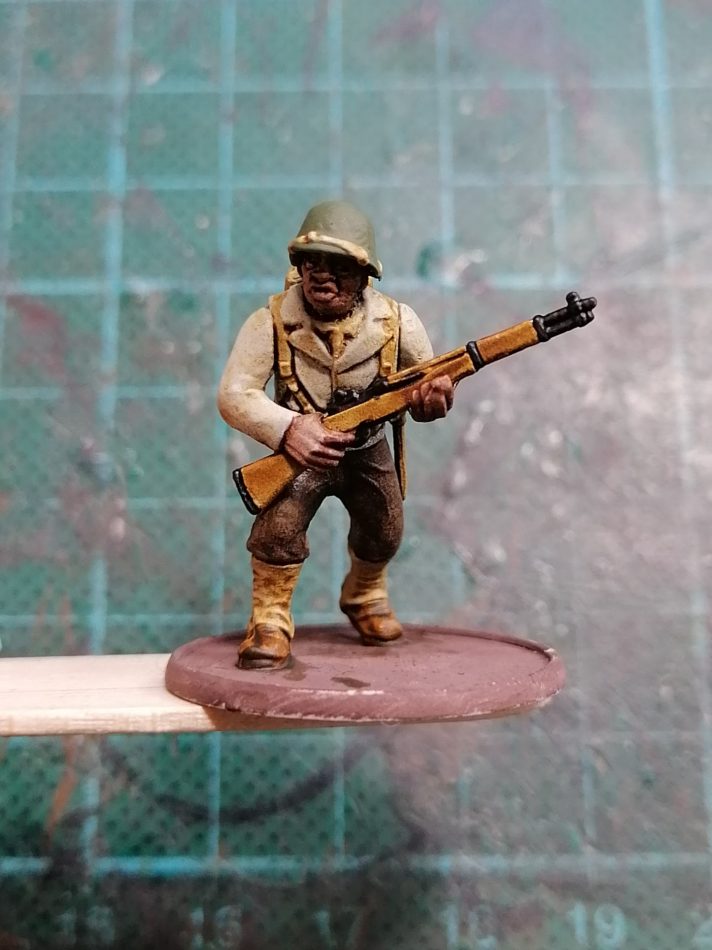
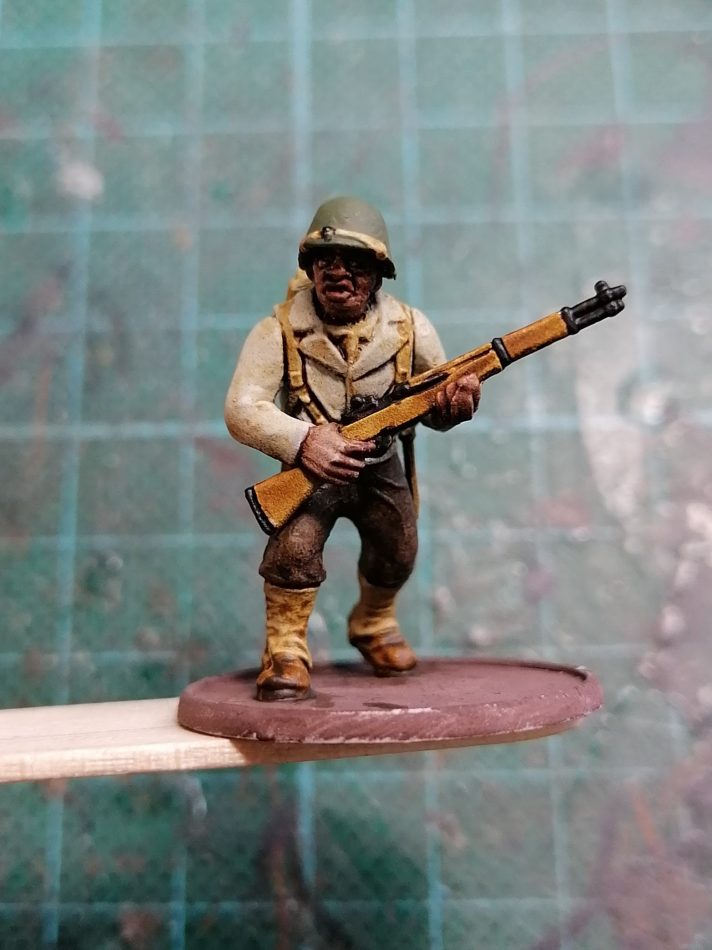
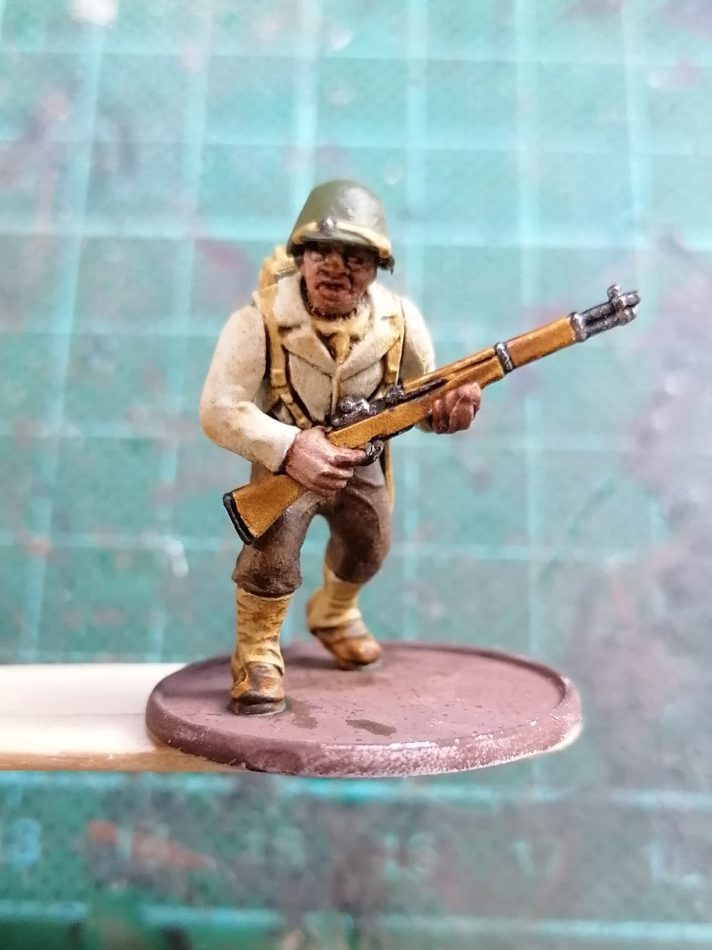
Step 9 - spade blade, helmet buckle and drybrushing of rifle metal:
Citadel's Leadbelcher. The drybrush work looks too heavy in the picture, but again it's fine on the model itself.
...and that's it. Sadly, the last picure is one of the worst(!) but I'll take some proper ones once I've finished all sixty-something of the infantry: I can't believe I've done over half of them so swiftly already!
Other little things I do (besides basing, covered in Part I, and decals/insignia) include some facial features (I actually painted the lower lip of this model using Fyreslayer Flesh but it's too subtle to show in these poor quality pics) and varnishing: I use a brush-on matte varnish to protect the metal heads from chipping as soon as the helmet paint has dried.
Again, the focus of this project for me is to get a new force table-ready more swiftly than I ever have before... and I'm very happy with the progress so far!
- Chris
* Footnote of excuses... (1) They look better in real life [honest!]; (2) I can't have my photography lightbox set up whilst I'm painting, so please forgive the cutting board background, and (3) the facial features do contrast more on the actual model, and the trousers and skin are more noticeably different colours.

