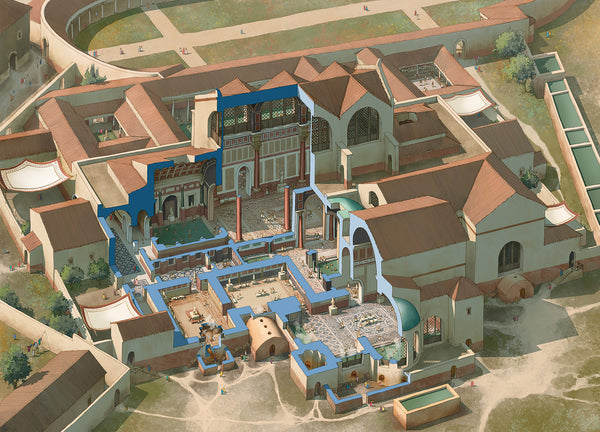
Two pints for 24
I recently received for review two boxes of the plastic Chasseurs a Cheval from Warlord Games. As with all new reviews, I took them down to my local wargames club to show them off and get other wargamer’s opinions. James O, my main partner in crime when it comes to Napoleonics, said they were very nice but with only a week remaining, there was simply no way I could get them finished and painted in time for the big Ligny battle. Well a bet’s a bet, so I asked him to put his money where his mouth was. He did and bet two pints of my choice of cider (Rekorderlig or Koppaberg naturally) - if I had all 24 cavalry painted in time for the day… so game on!

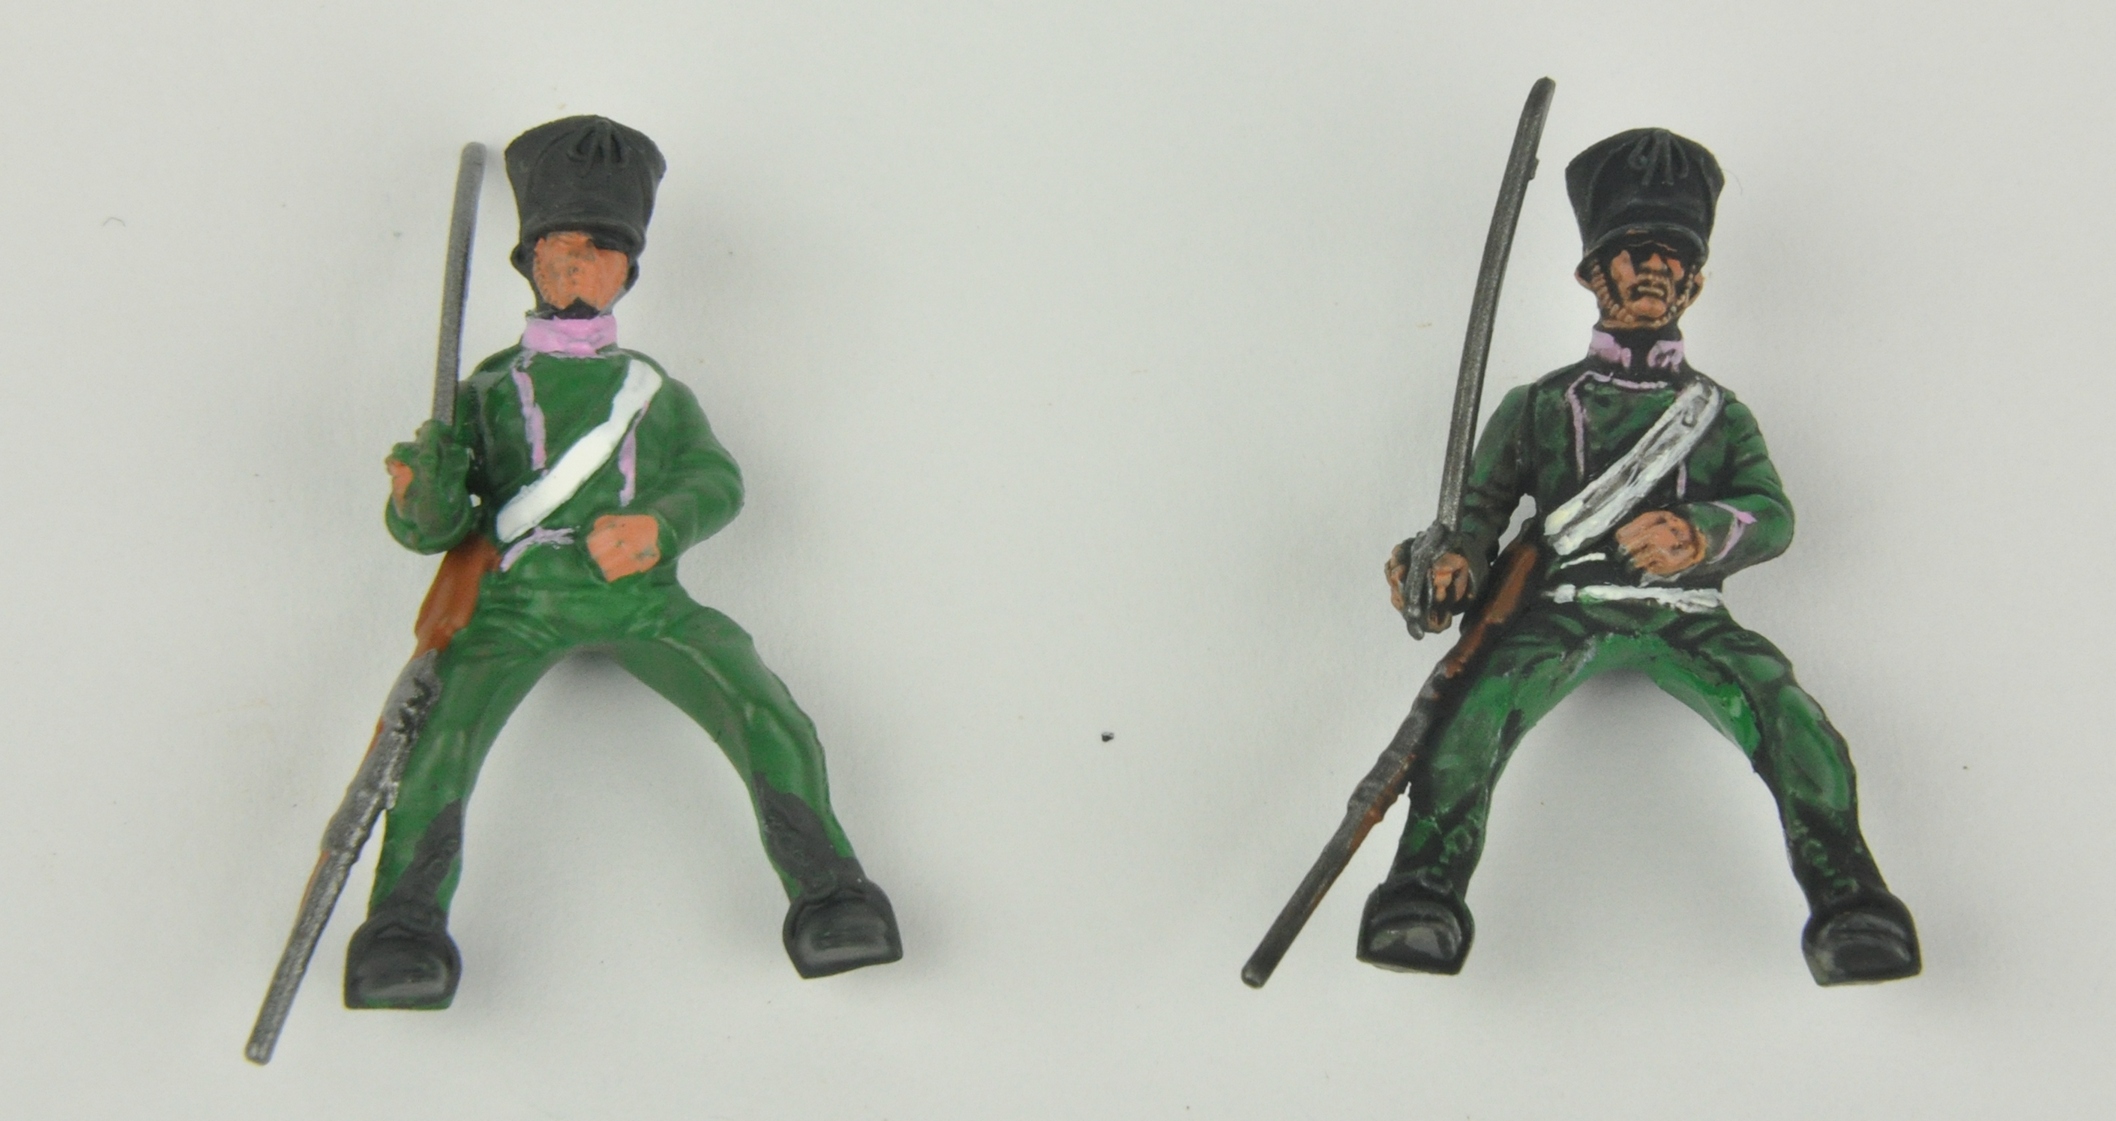
At first I started with the horses. I’m pretty happy with my speed painting method for horses, although I won’t claim it’s as amazing as the results you can achieve with other methods. I’ve mentioned the technique before but I’ll mention it here again. Firstly I spray the horses with a white undercoat. Using white allows the slightly diluted paint to shine through. Don’t worry about the colour being a little light, we’ll be darkening it with inks later.
Basic horse with a wash of brown and then black leather.
The horse is then coated in a slightly watered down horse brown colour, avoiding the saddle area. I used the same colours as previously on my hussars, the horse colours from Coat D’ Arms. The leather harnessing was painted in Vallejo black grey. .

Next I added the trim (Coat D’Arms shocking pink in this case - as these are the 9th Chasseurs) and the blanket (in Army Painter Orc Flesh). The horse was then covered in a ink wash. I used strong tone for the lighter horses and dark tone for the dark horses. The saddles were treated with Dark tone. Now for the riders…
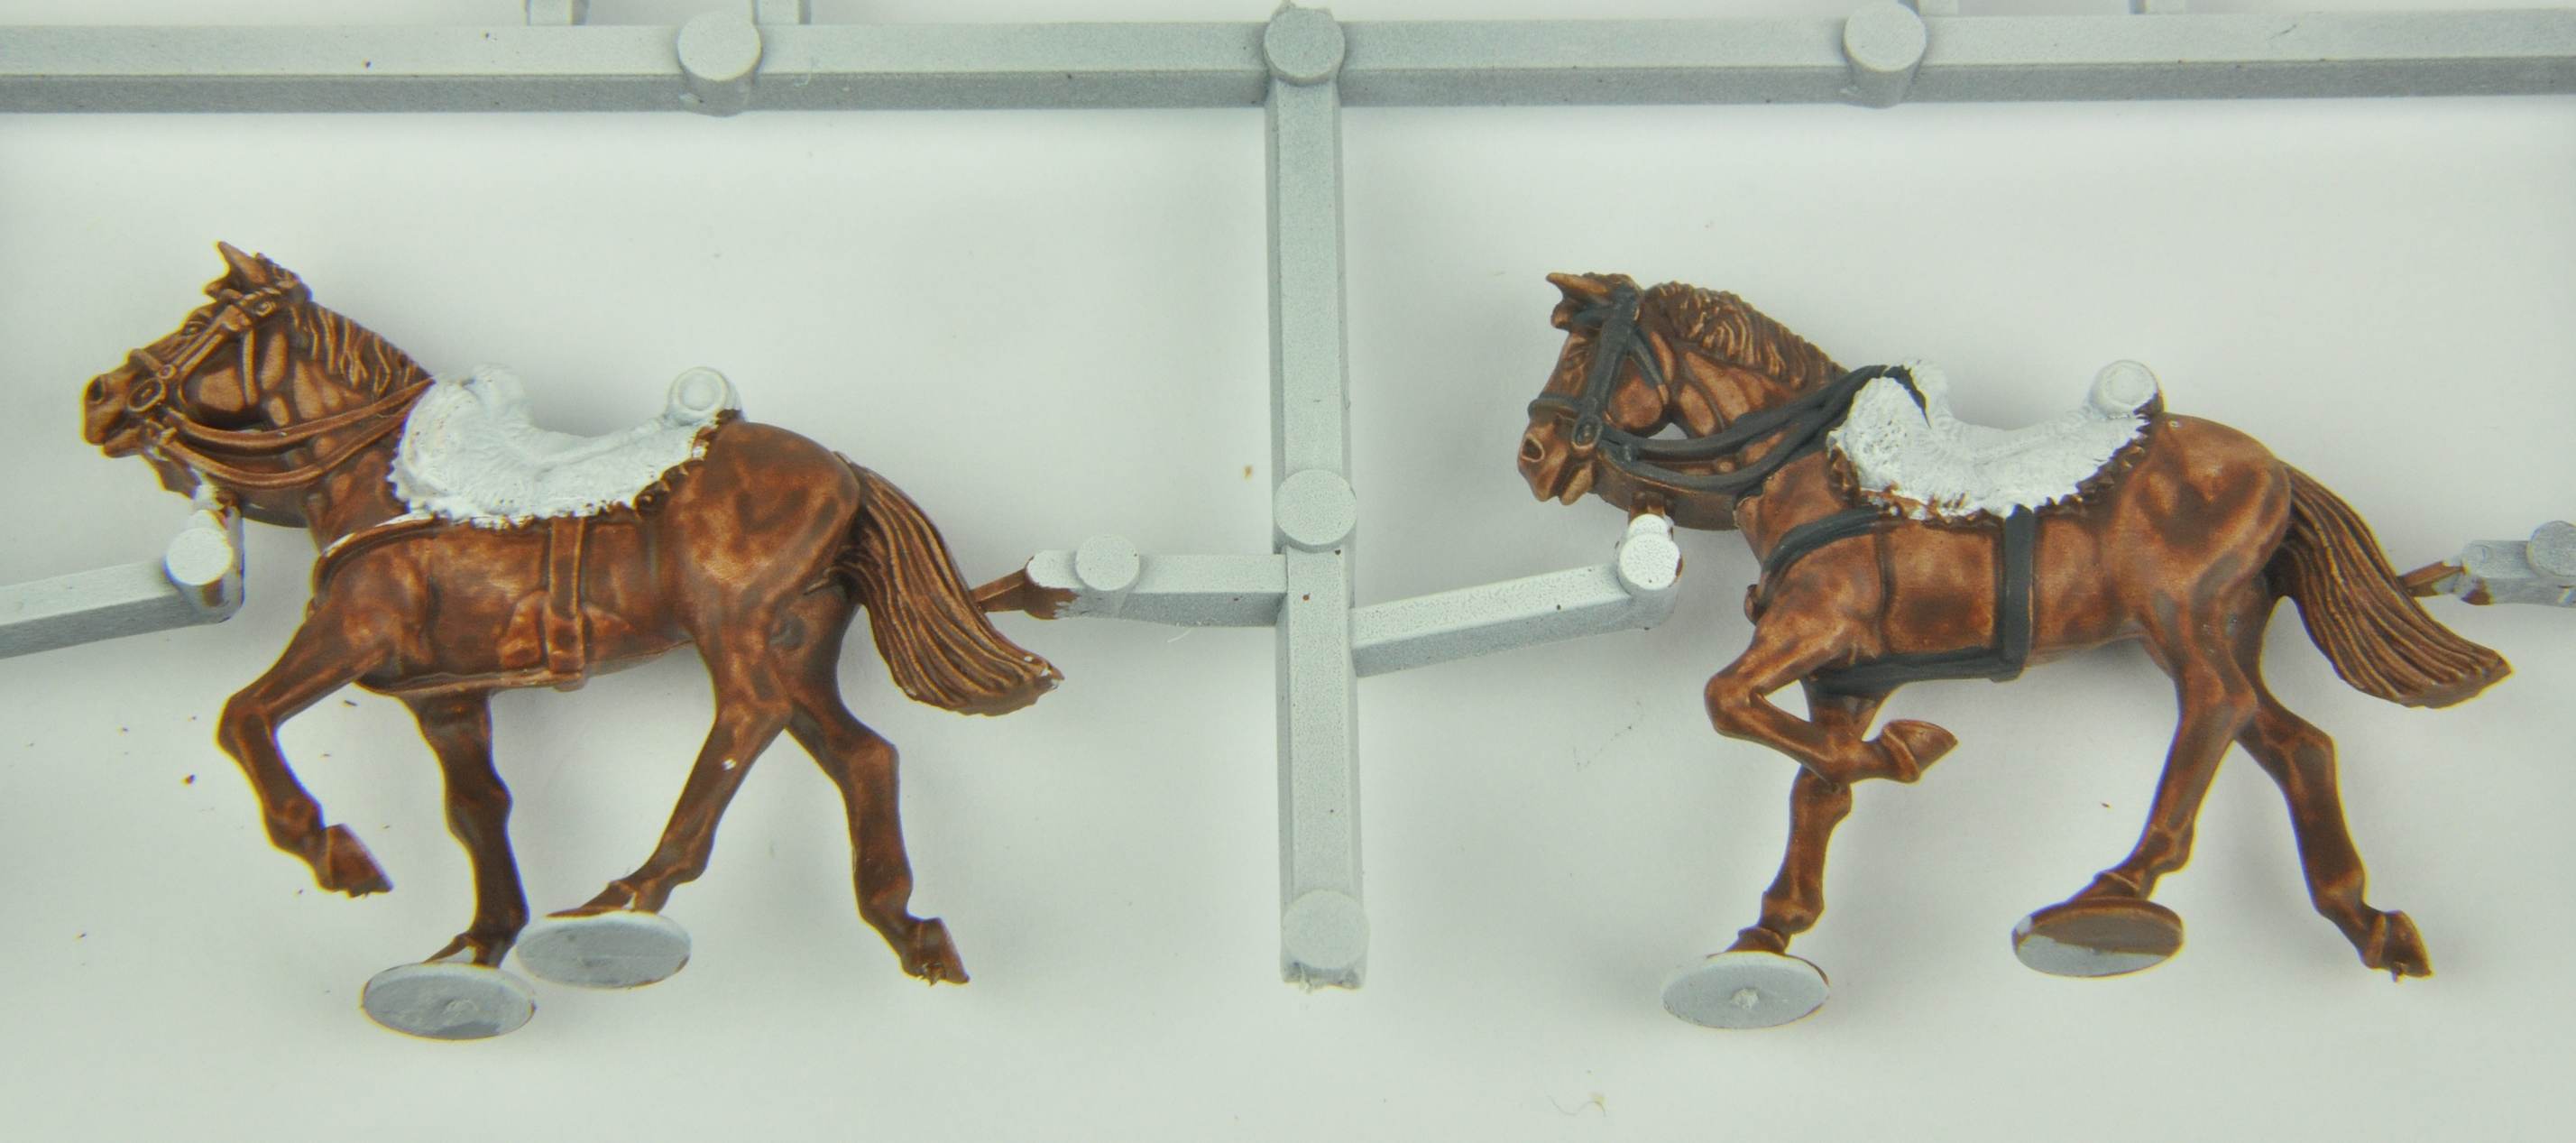
Firstly, I painted the riders a bright green - using the Army Painter Orc Flesh as this gives a good solid green colour. Next, I worked on the boots and catridge case (both black grey) and the flesh (Army Painter Flesh tone).
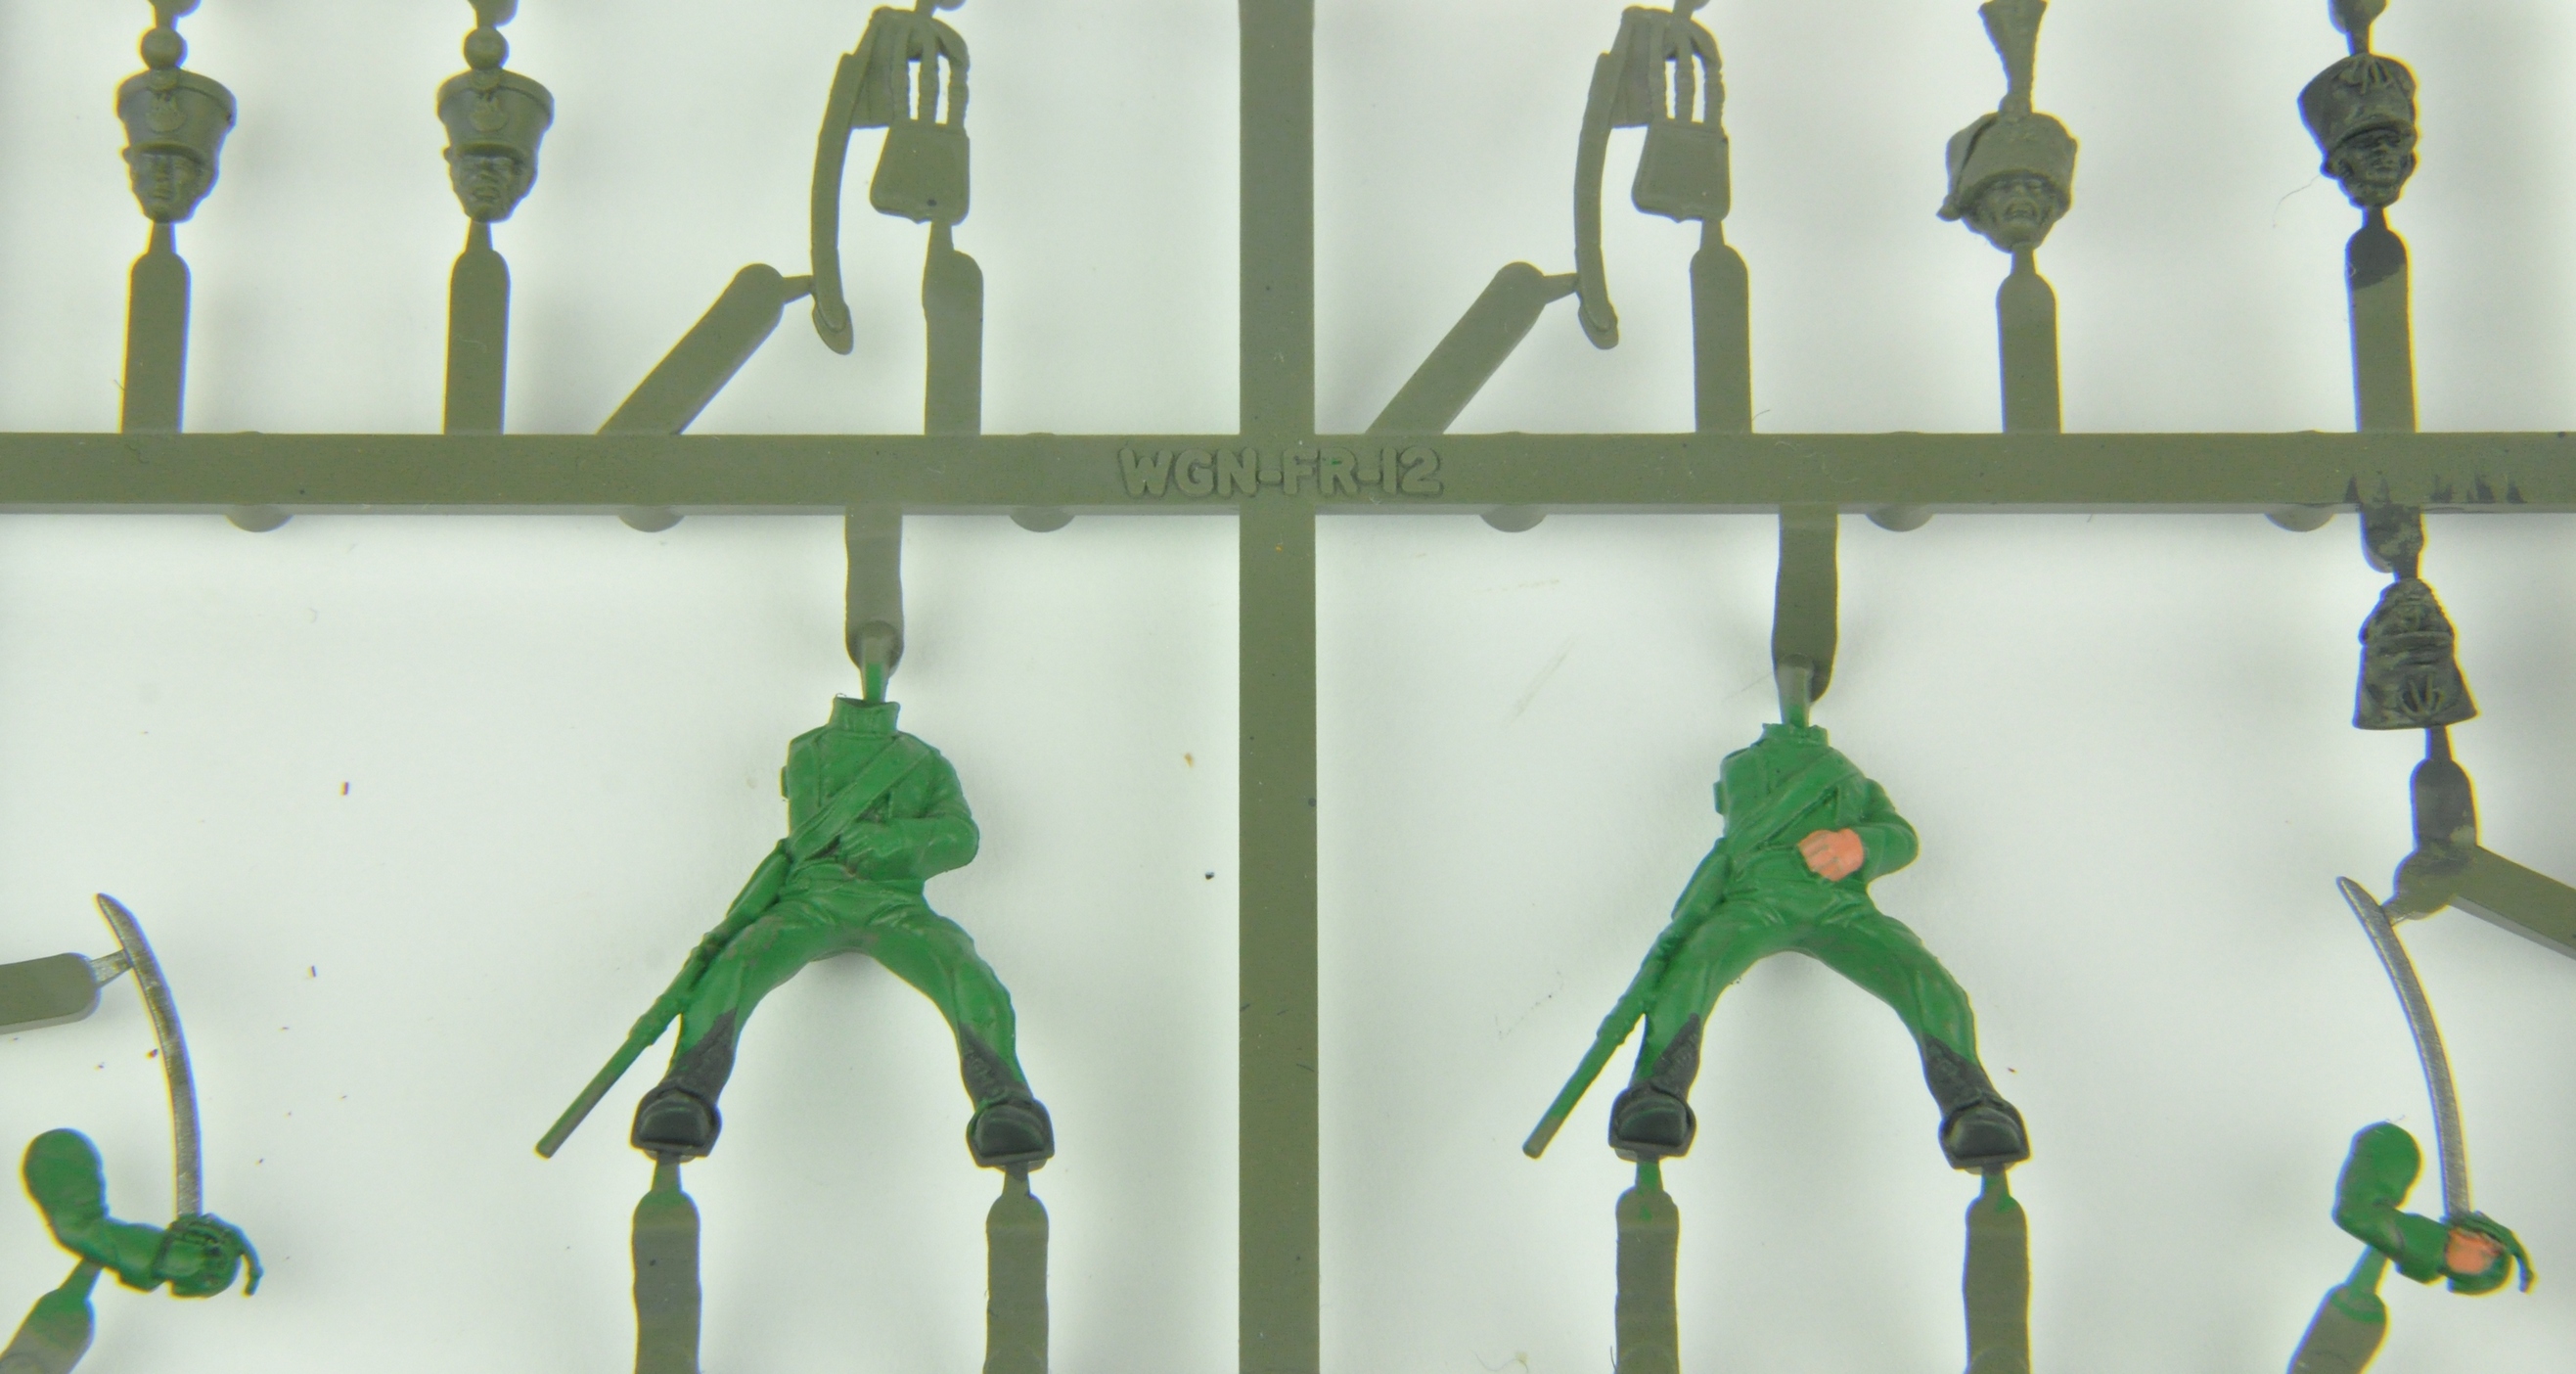
Then came the piping. This is a little tricky but can be achieved with a steady hand and a touch of green at the end to cover up any mistakes. Next I added the pink piping (Coat D’ Arms shocking pink, the same colour as the horse trim) and the musket in wood brown (Coat D’ Arms). To finish off apart from some touching up, I added iron to the musket and sword.
Finally to finish off the models were given a black wash. In hindsight, I think I would have been better using a mix of washes like I did for the horses - black for the green uniform and for the weaponry (musket and sword) but a brown wash for the flesh and shoulder strap.
All in all this is a quick method with reasonably good results. Additional highlighting can be added after the washes - I’ll typically go back and add a light tone to the faces and white straps.
So how did I do? I managed to get one unit of 12 cavalry on the table despite having a whole load of other things to finish, namely terrain. The end result? Well I finished one unit so that’s one pint in my favour, right? Wrong! As I hadn’t finished one unit that was a pint to James and therefore he owed me nothing. 🙁