Frostgrave Treasure
Frostgrave, the new fantasy skirmish wargame by Osprey is out now, with some excellent looking models from North Star. Set in an abandoned frozen city, rival Wizards battle it out for control of the scerets within. I’ll be trying out the game shortly with my local gaming groups. I’m really looking forward to giving Frostgrave a try, its certainly something different from my usual fare of historical gaming. It also won’t take up that much painting time as a faction is no more than a dozen models, there’s not a lot of painting to be done. I even have some snow scenery.
I strongly believe if you are going to do a project, you should make it look pretty. That includes scenery in addition to the miniatures themselves. One of the key aspects of the game is finding treasure (and keeping the other players from stealing it!). The ruins of Frostgrave must be littered with it and its the primary goal of the warbands to collect the it. I wanted to make up some decent looking treasure markers for the game. Now what could I make them from though? Time to start sifting throught the bits box!

Bits & Pieces
The Frostgrave soldiers sprues also provide several useful extras after you’ve finished assembling your models. These were added to the pile of ‘treasure’ along with other spares from plastic sets. Everything from the Perrys to Wargames Factory was used, there’s even some Soviet WW2 backpacks thrown in for good measure and a pile of Games Workshop spares. The loot would have to be based, so I chose some spare 25mm round bases to mount them on.
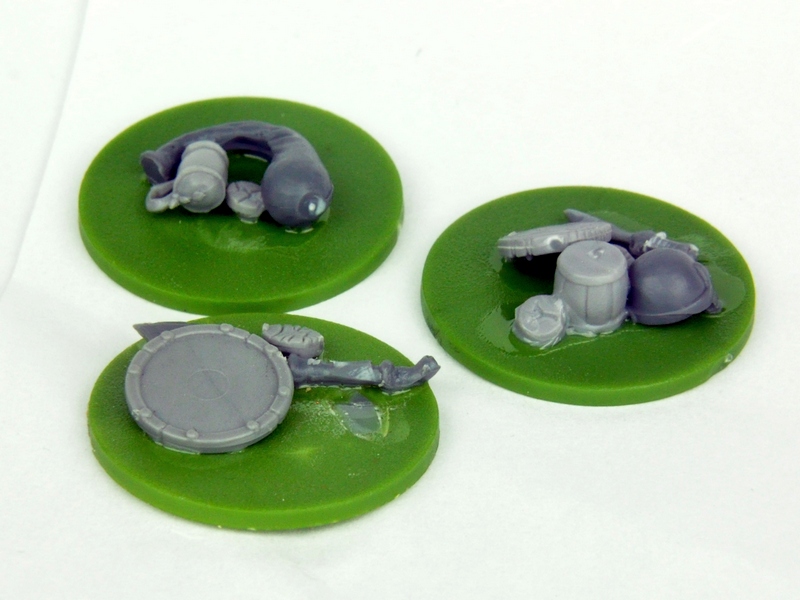
I carefully stuck down the various bits and pieces in a haphazzard way to make it look like they’d been simply discarded or scattered. I didn’t want orderly piles of loot. Perhaps it was some of the treasured items of the original inhabitants of Frostgrave or perhaps the collection of loot was dropped by an adventurer who didn’t make it back… Next I sprayed the bases white.
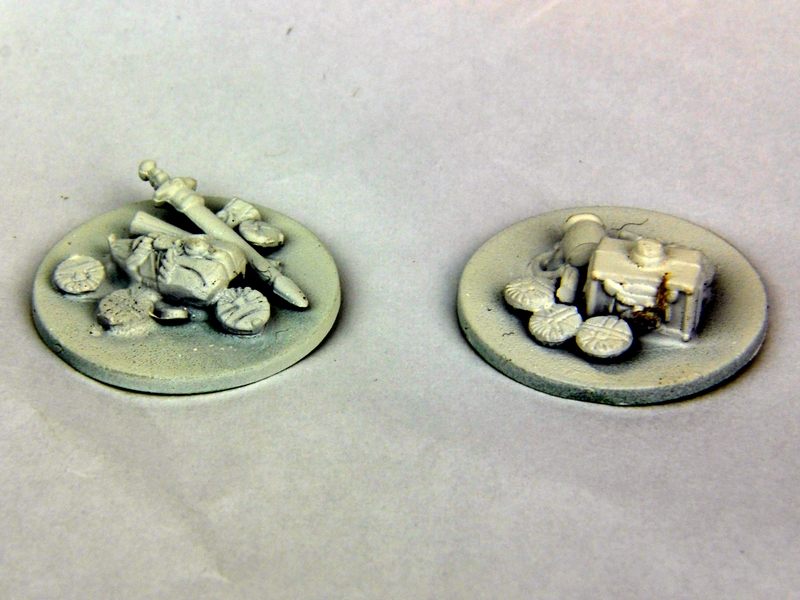
Once the spray had dried, I set about painting the individual items while ensuring I left the base itself white. I then gave the finished treasure a simple wash with a black ink.
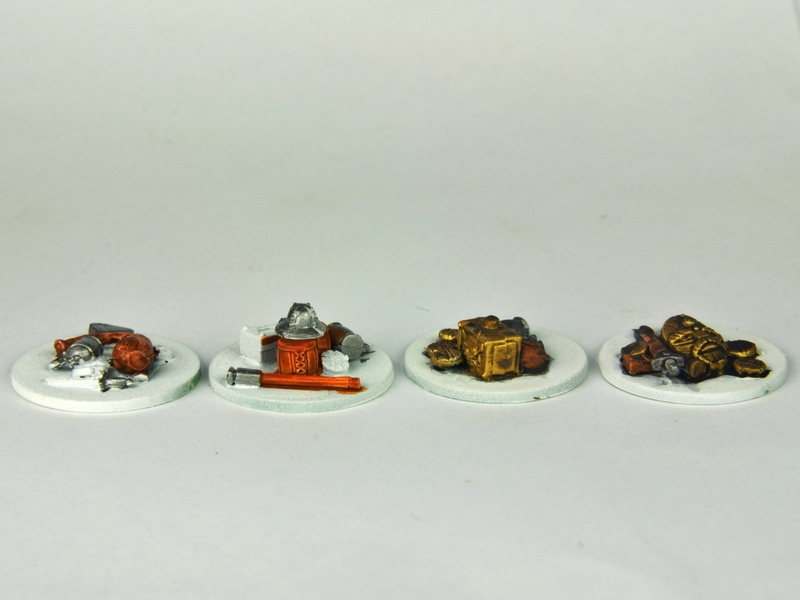
Finally I used a snow effect to finish off, glued down with a 50% PVA and 50% water mix. I used Woodland Scenics Snow scatter as it looks nice. I have in the past used a mixture of PVA glue and baking soda to good effect, so this could be used as a substitute. I think I will build up the layers of snow by adding successive layers of Snow scatter, so the teasure appears half buried in the snow. I don’t want to overdo it and obscure the detail too much however…

Now only another ten or more to do! I’m expecting a few bloodthirsty multiplayer games…