A Taste of Honeys
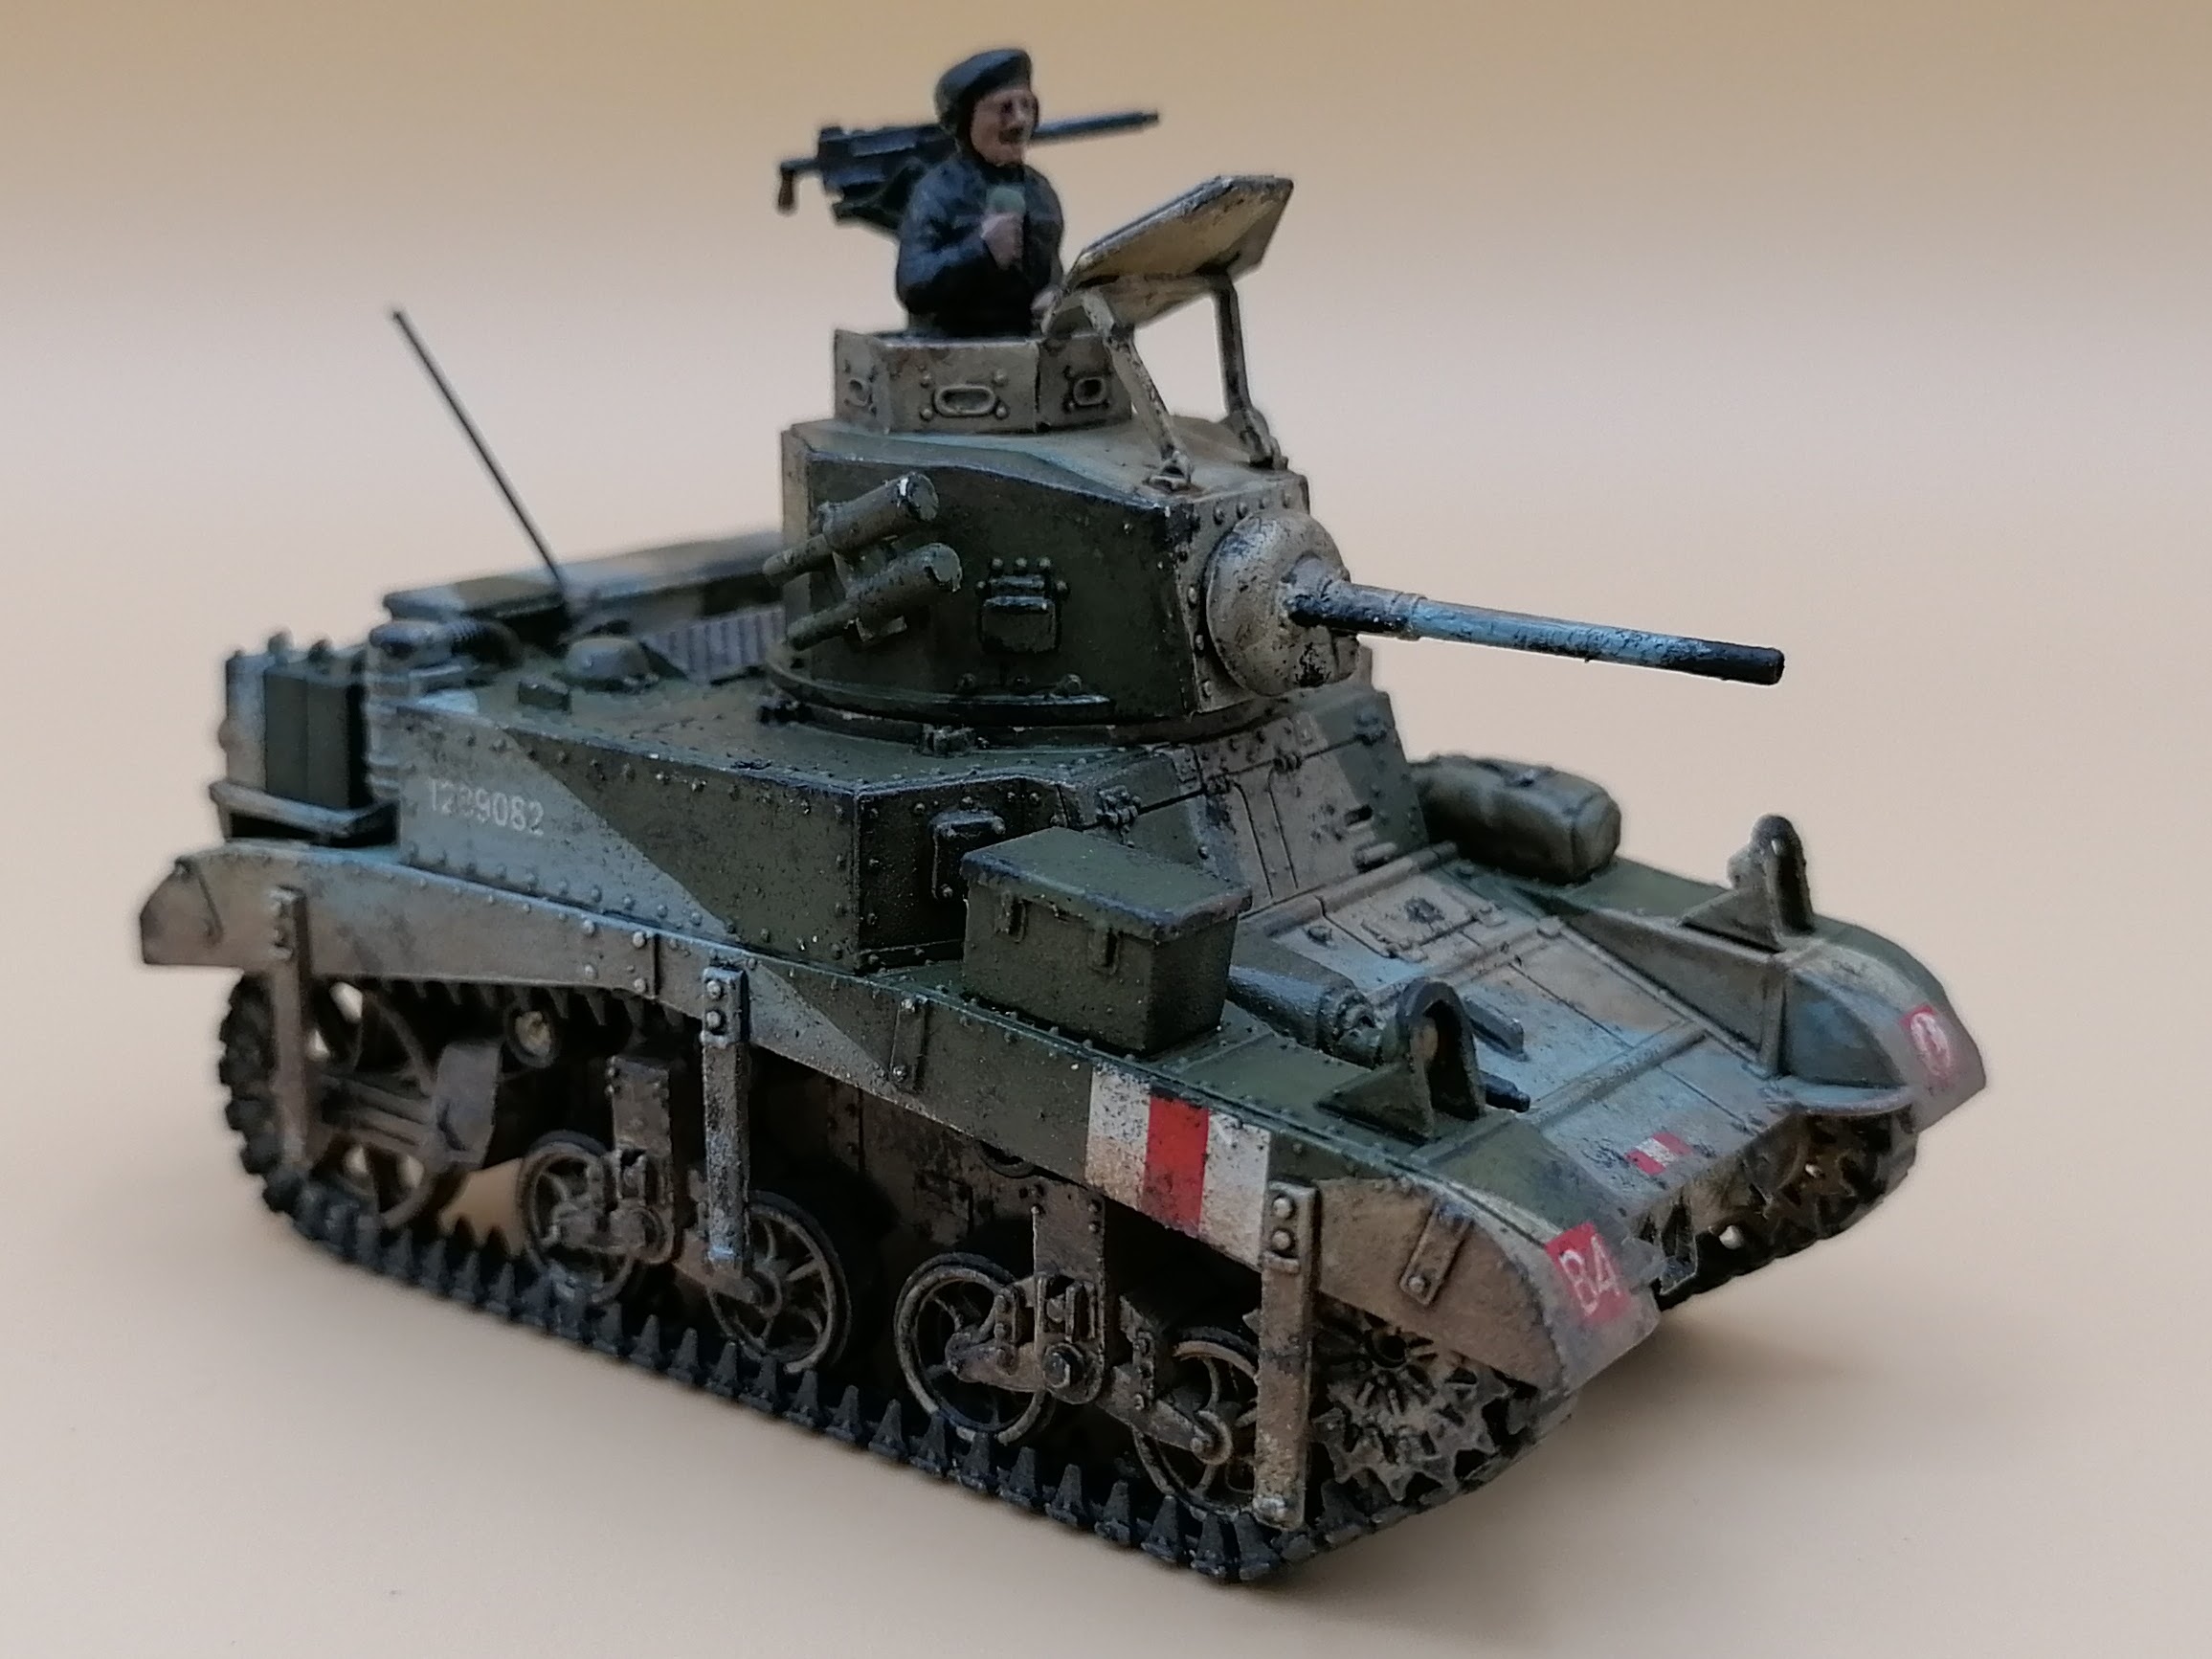
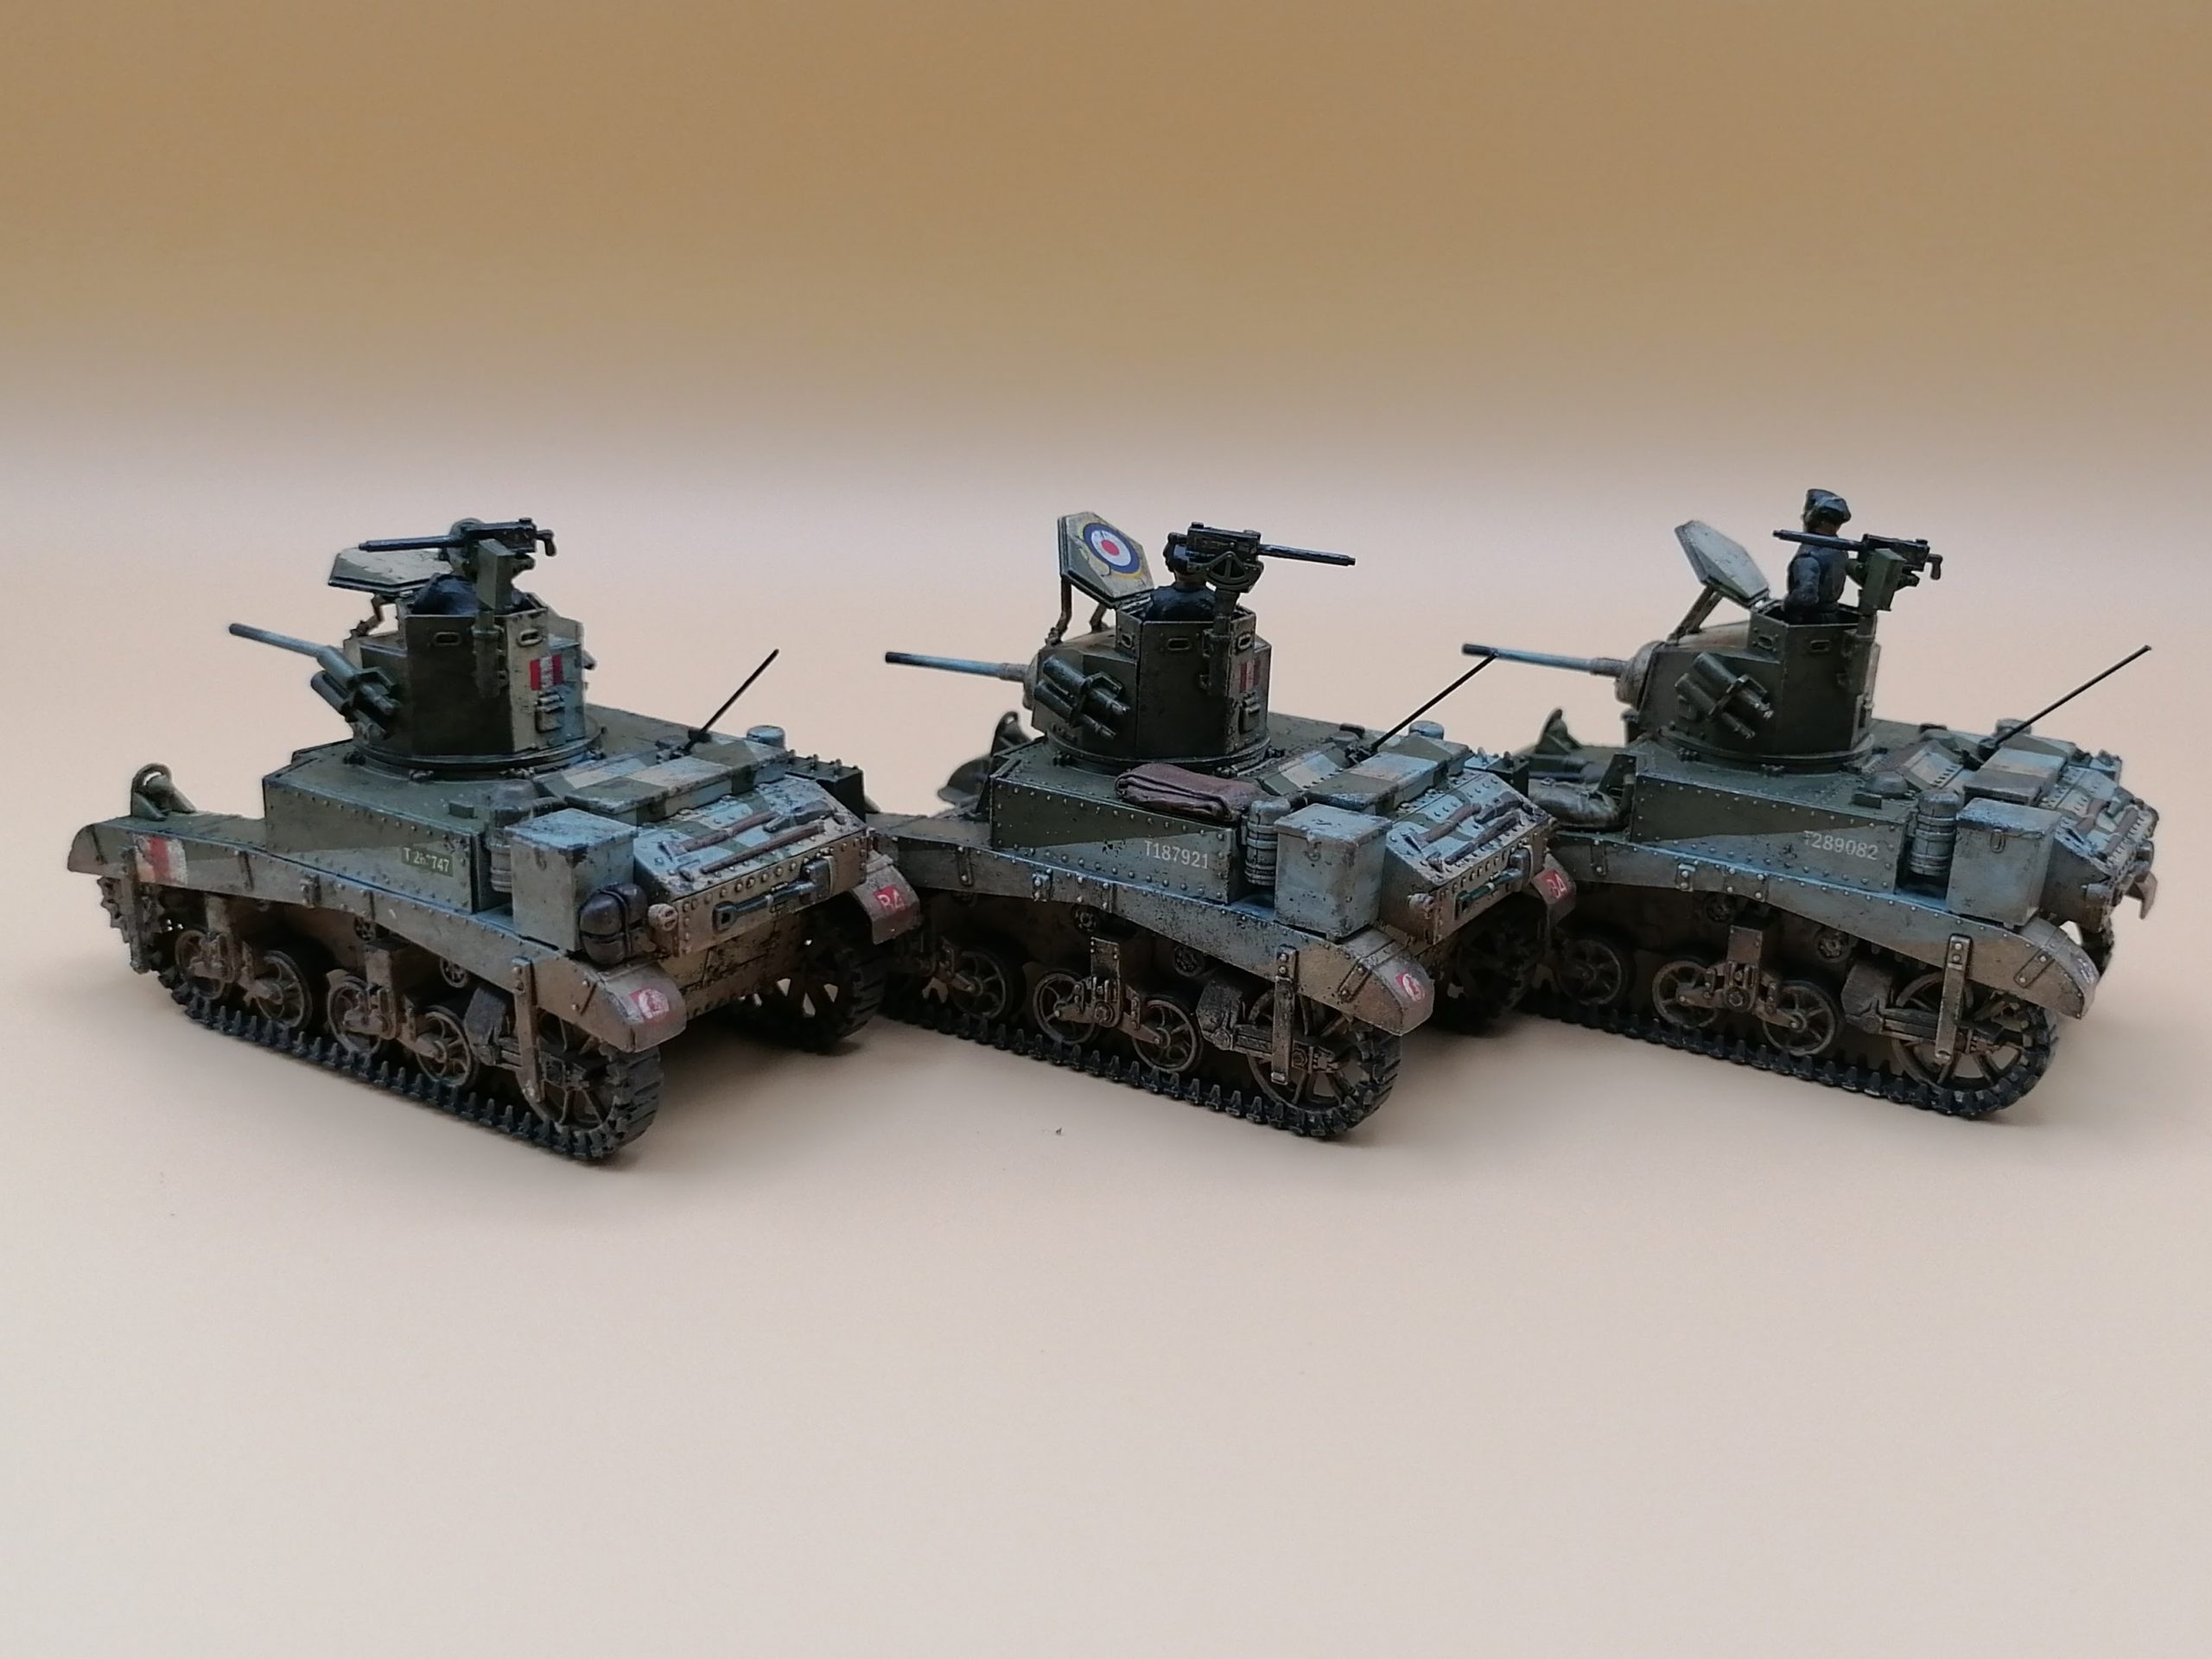
Back in the summer, my lovely friend Sam in the US was kind enough to send this trio of tanks my way - they're the Warlord Games 1/56 plastic kits - and it's been a mixed bag of frustration and delight to paint them up over the last few weeks...
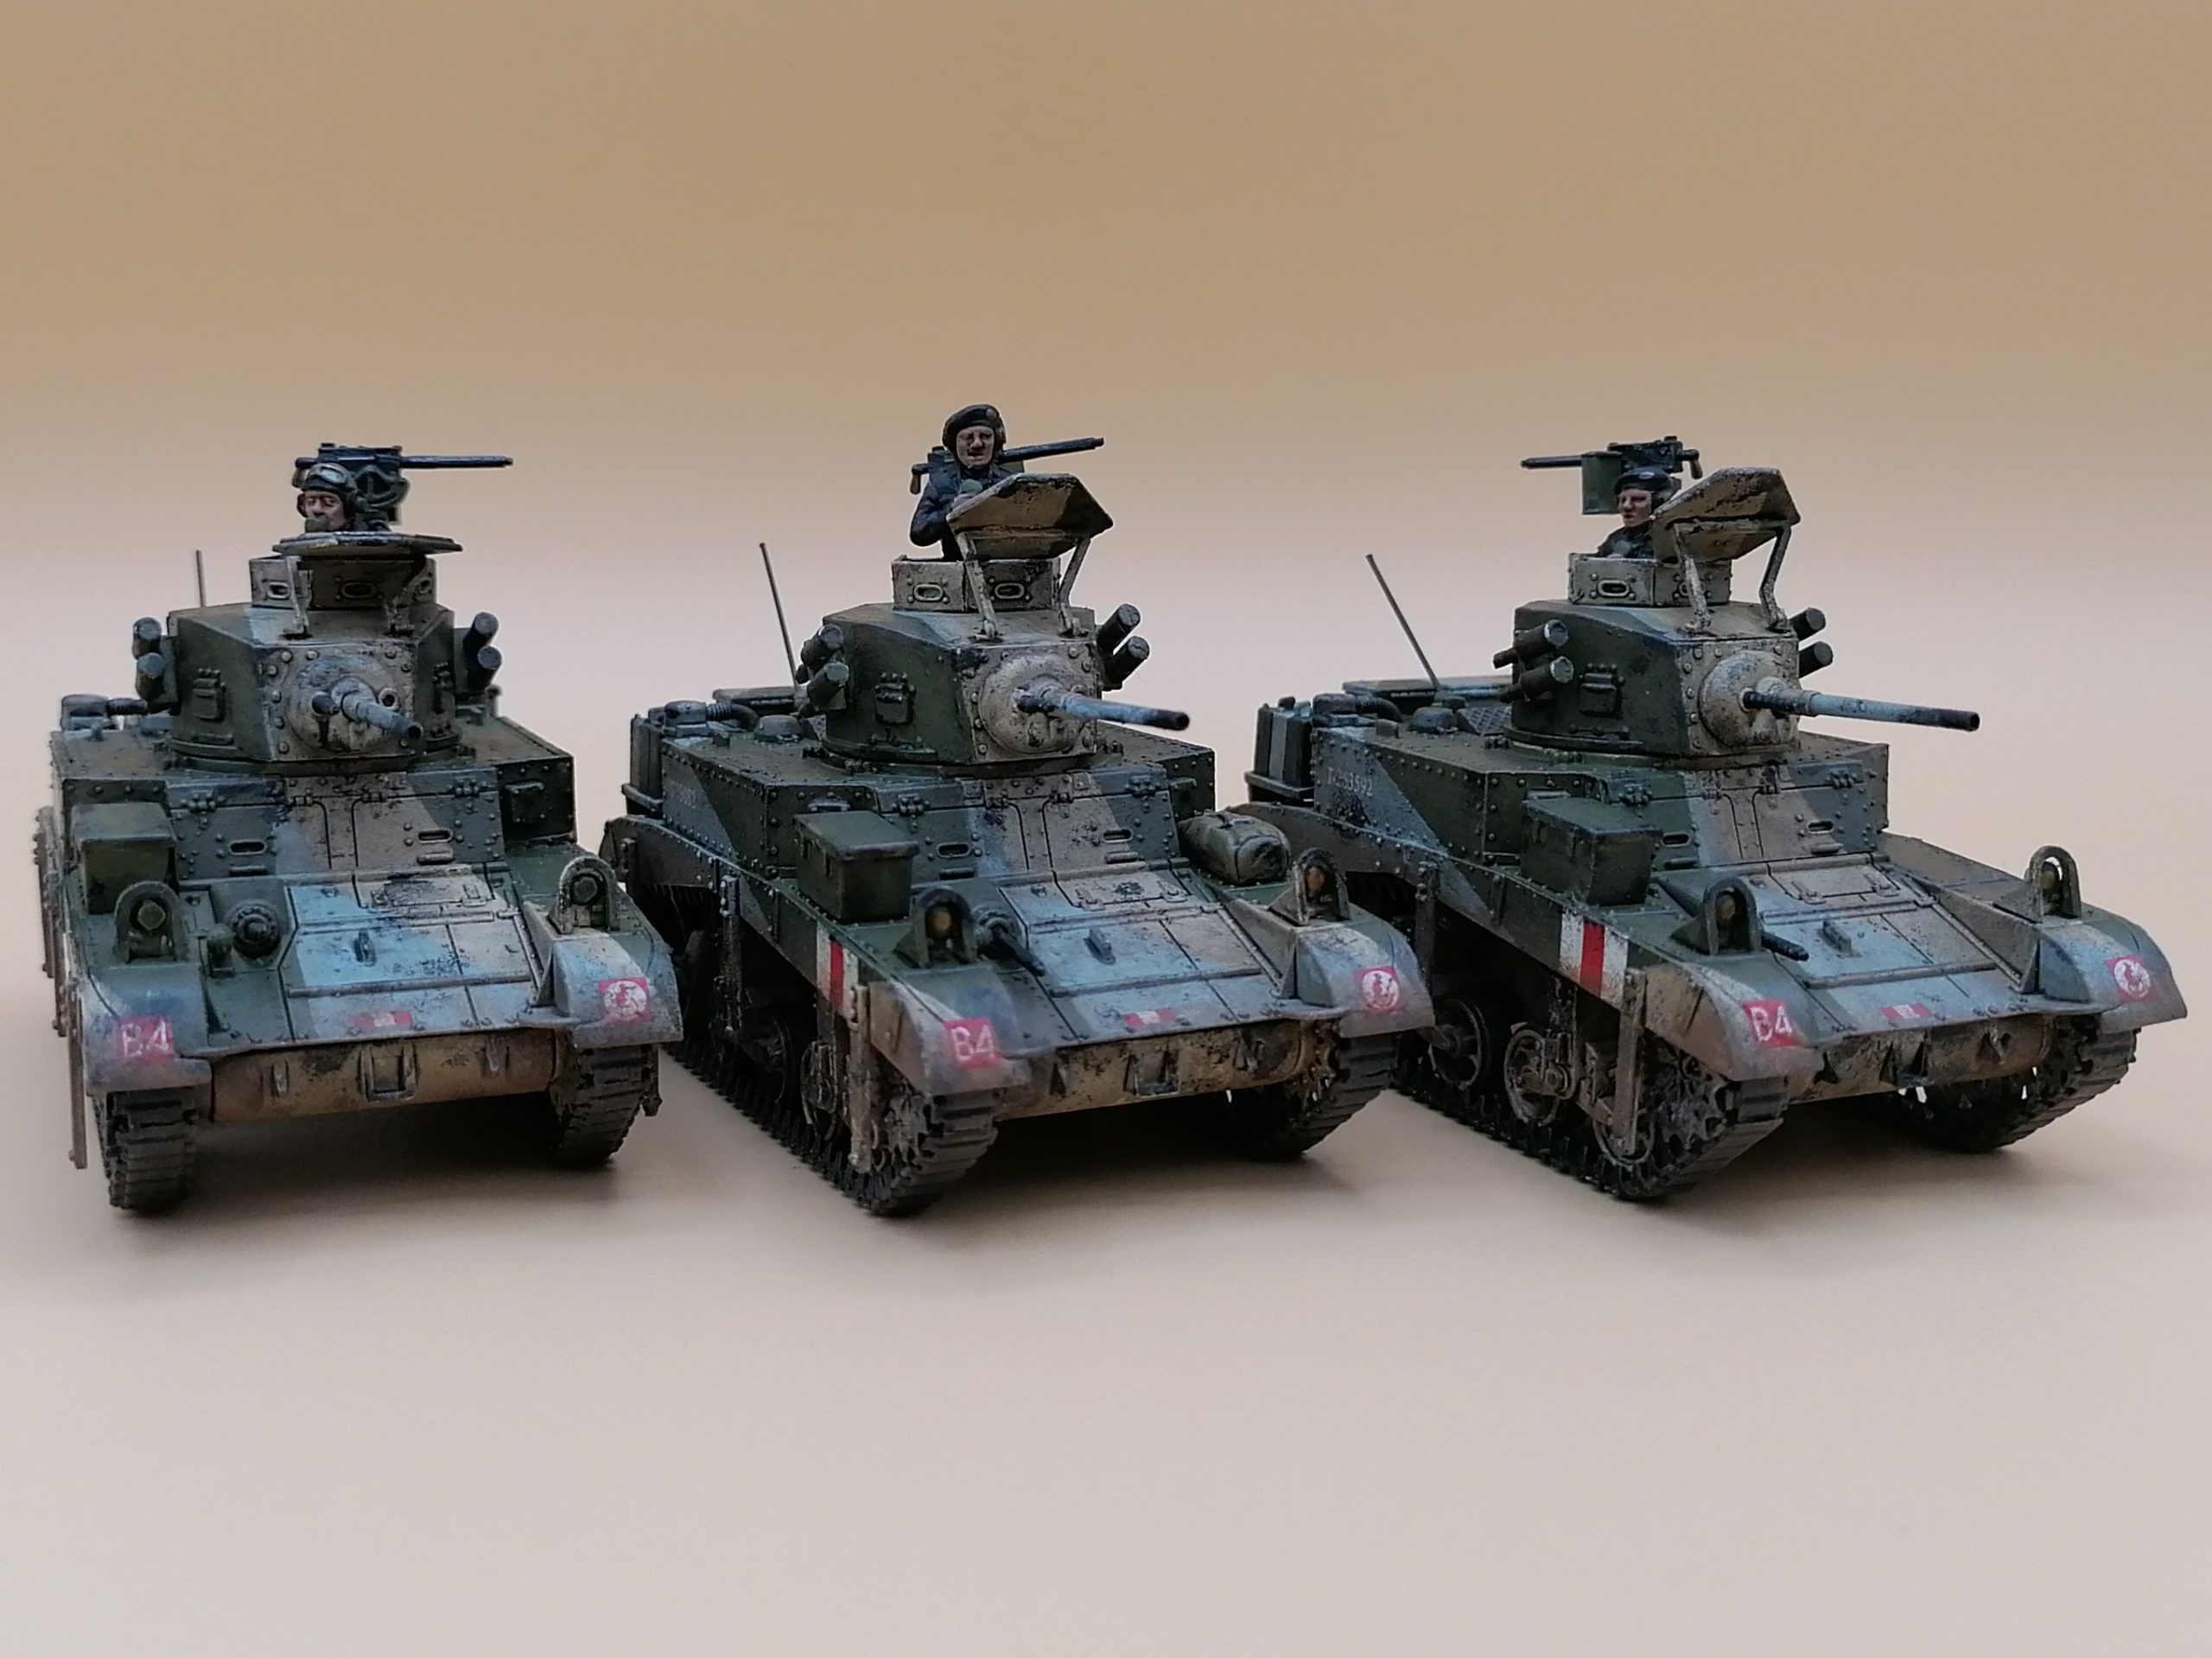
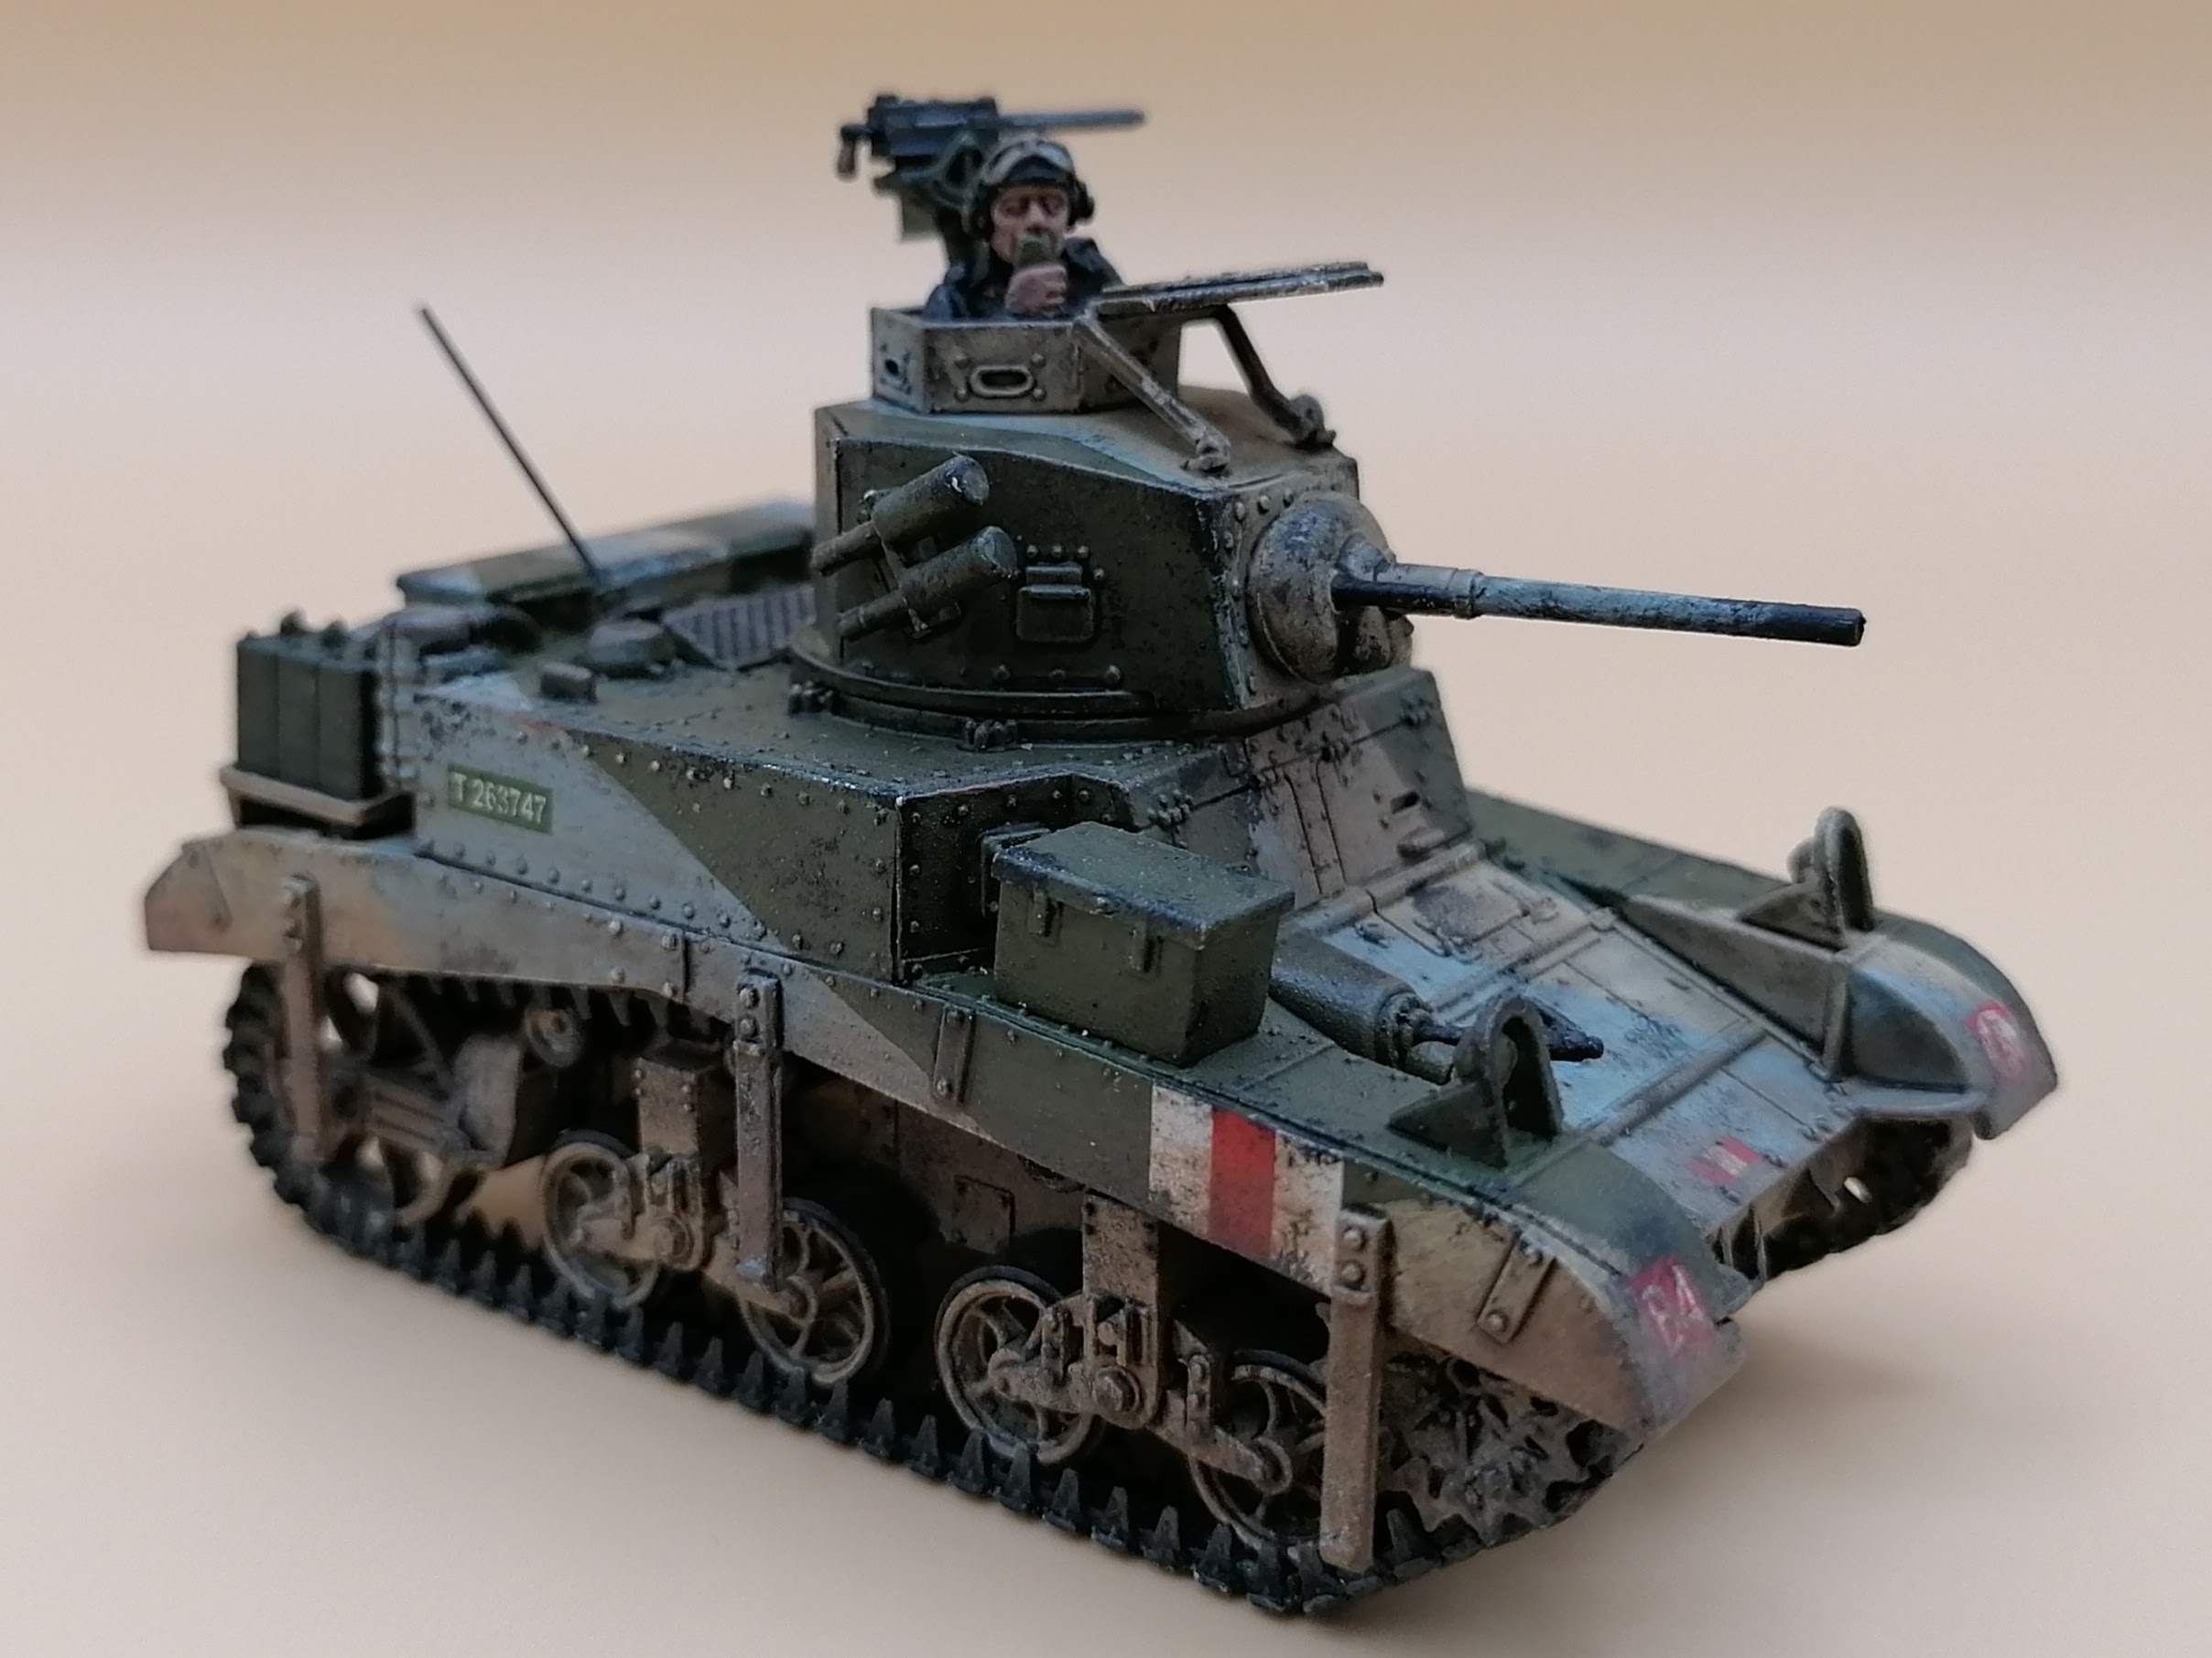
...frustration because painting the British 'Caunter' style of camouflage is never fun on such irregular surfaces; delight because, well, for all the awkwardness, it always looks pretty characterful once it's done!

I'll let the pics speak for themselves, but below is an overview of the process.

 Process:
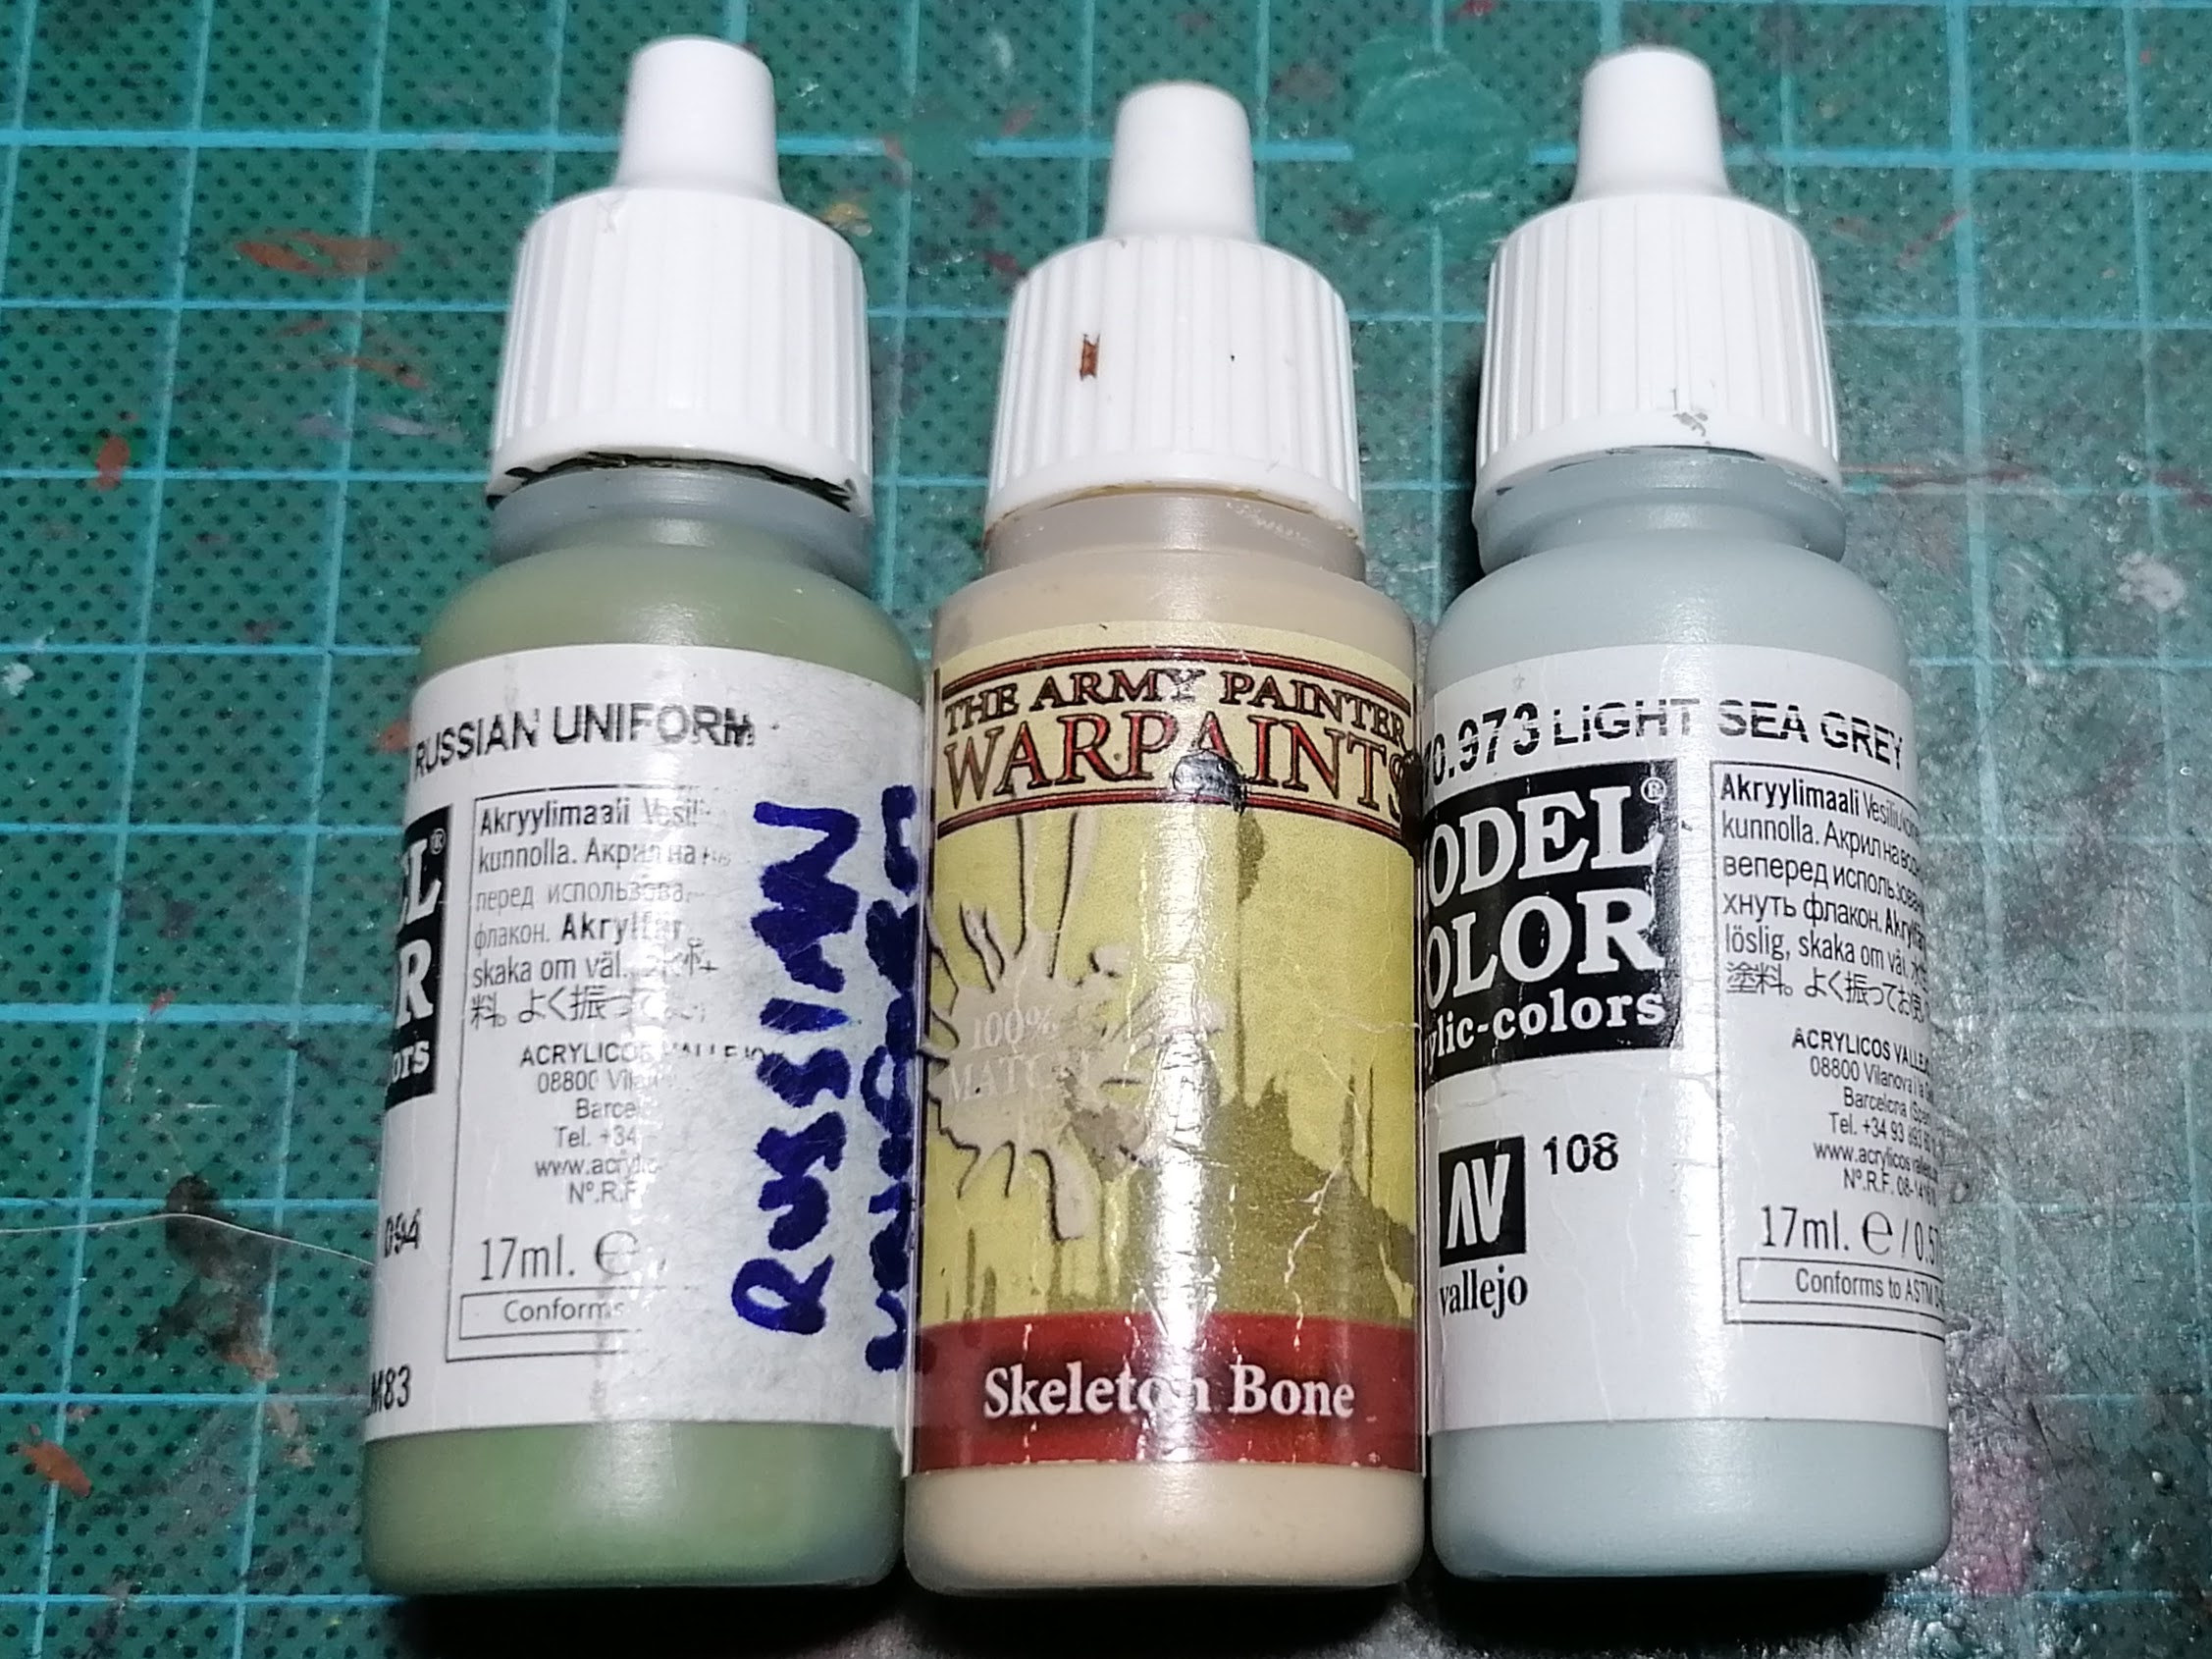
- Cheap grey spray car primer followed by Army Painter Skeleton Bone spray basecoat
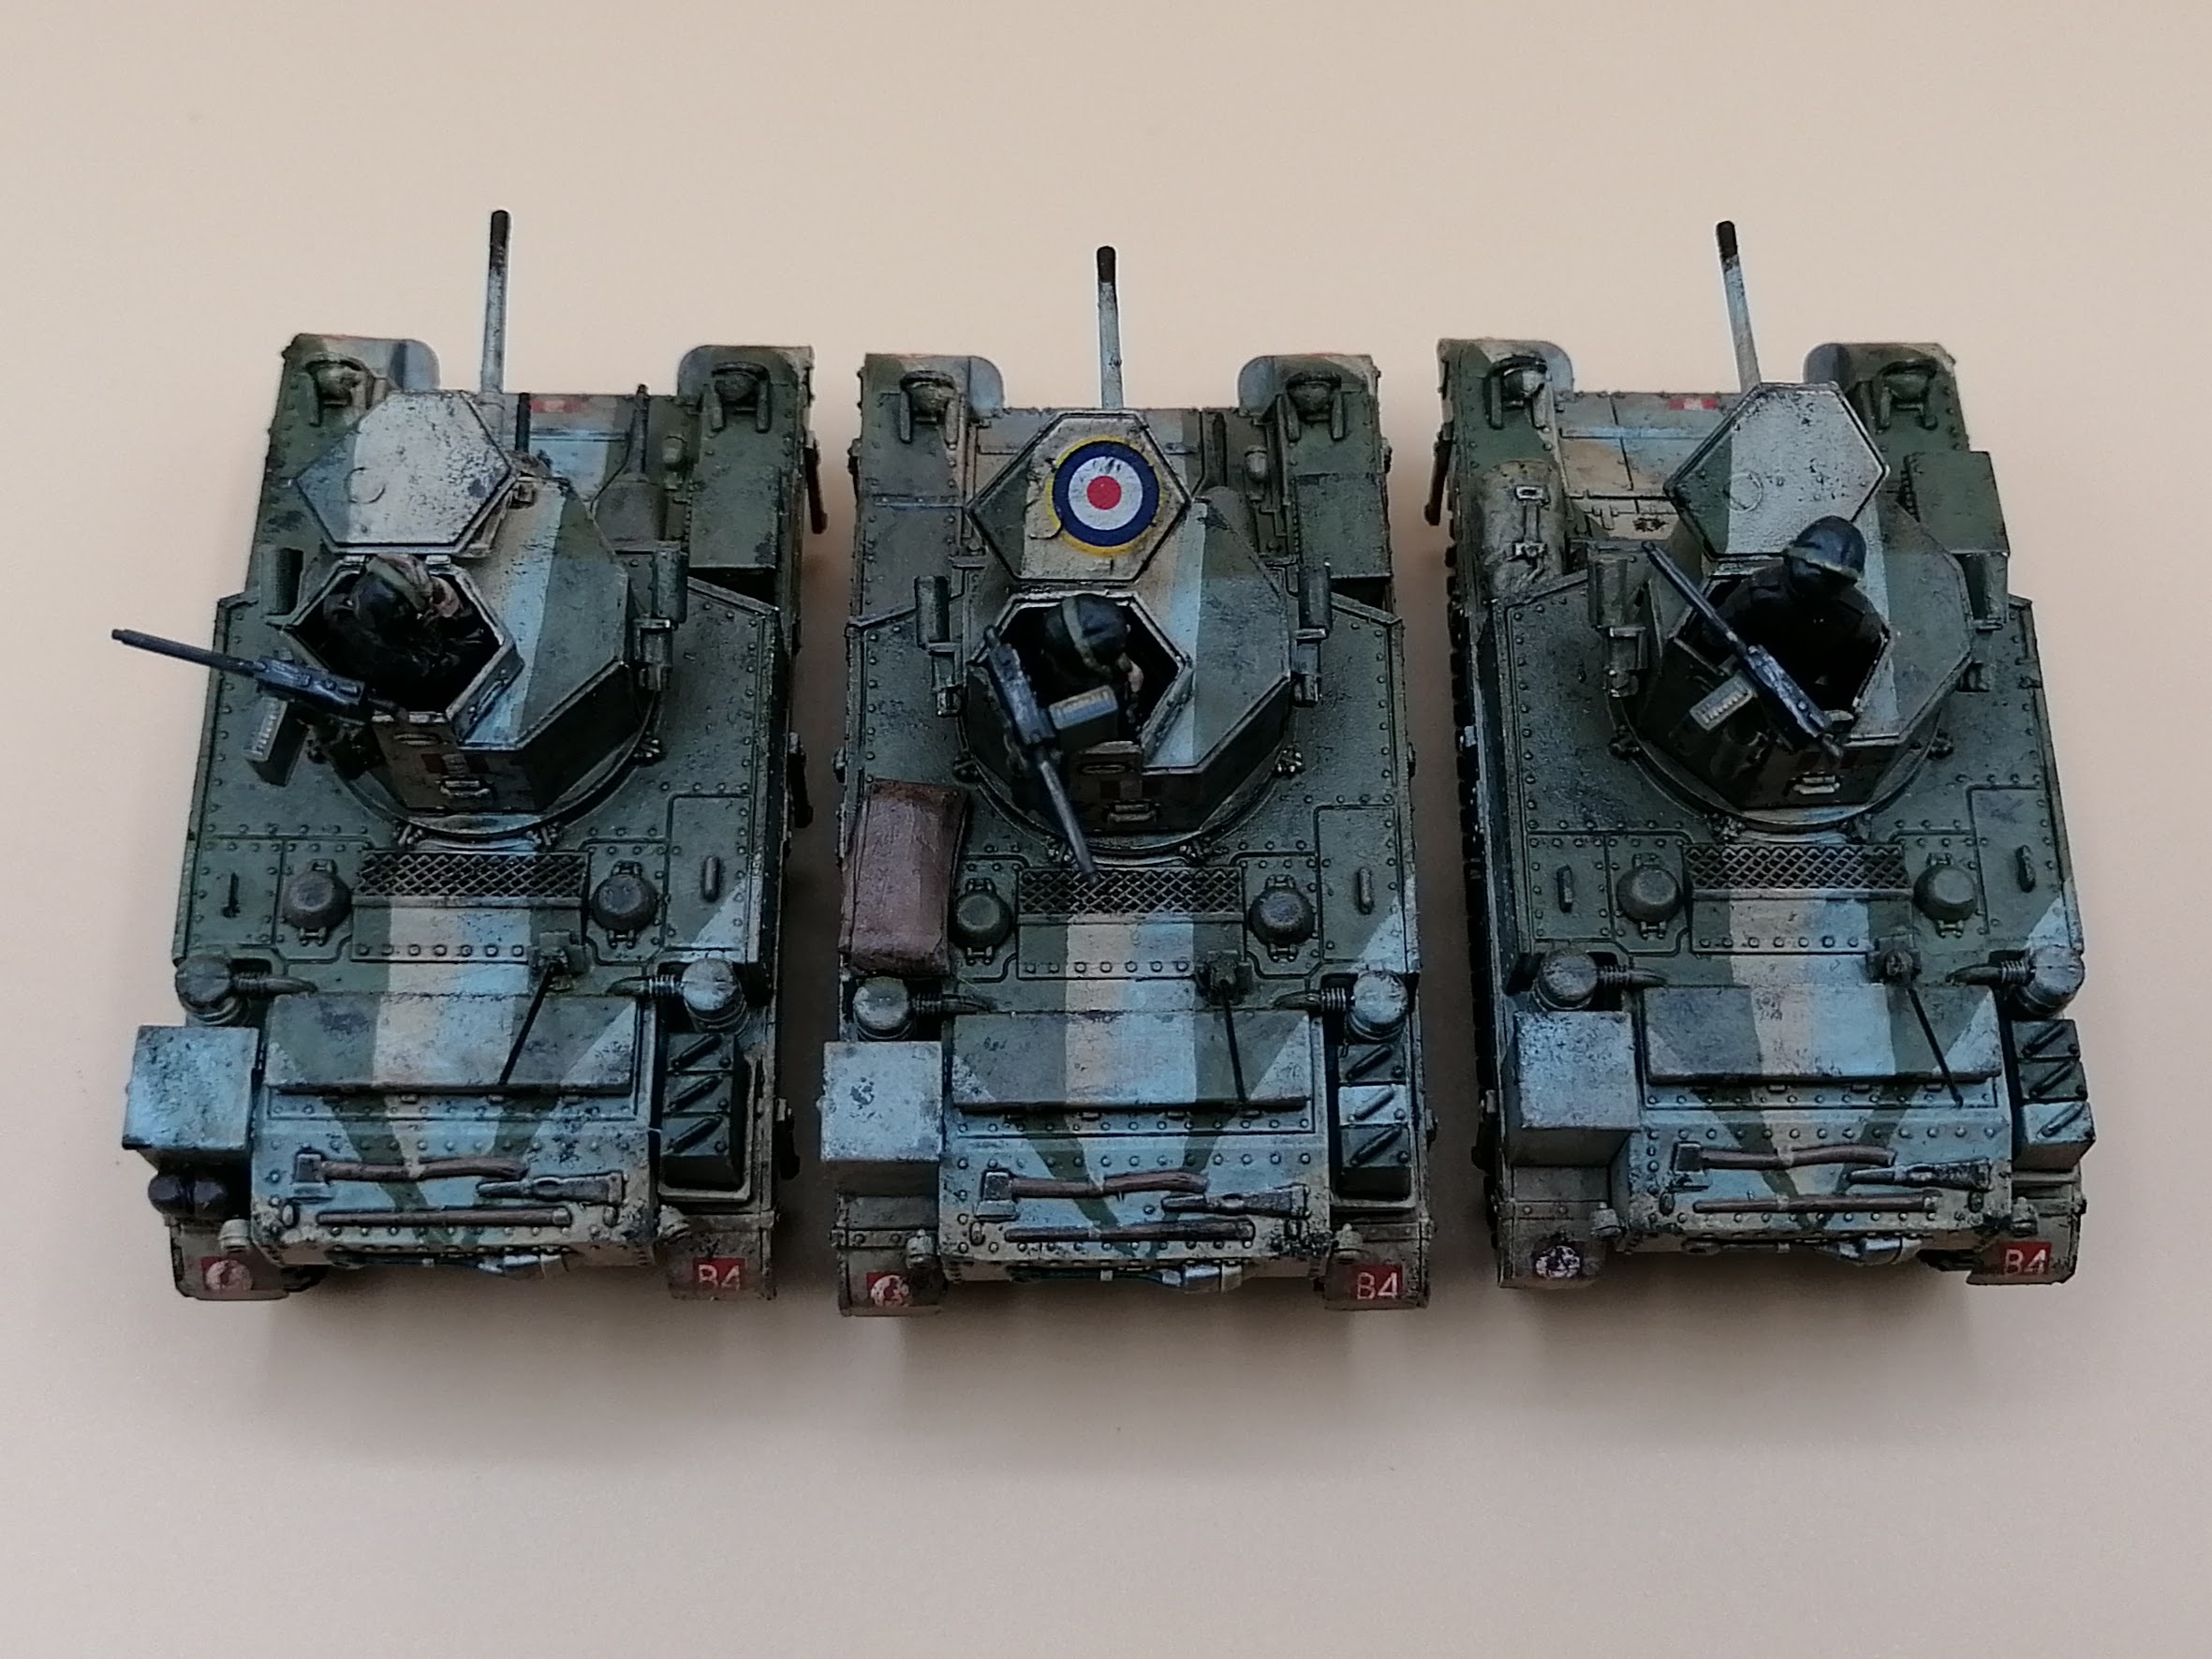
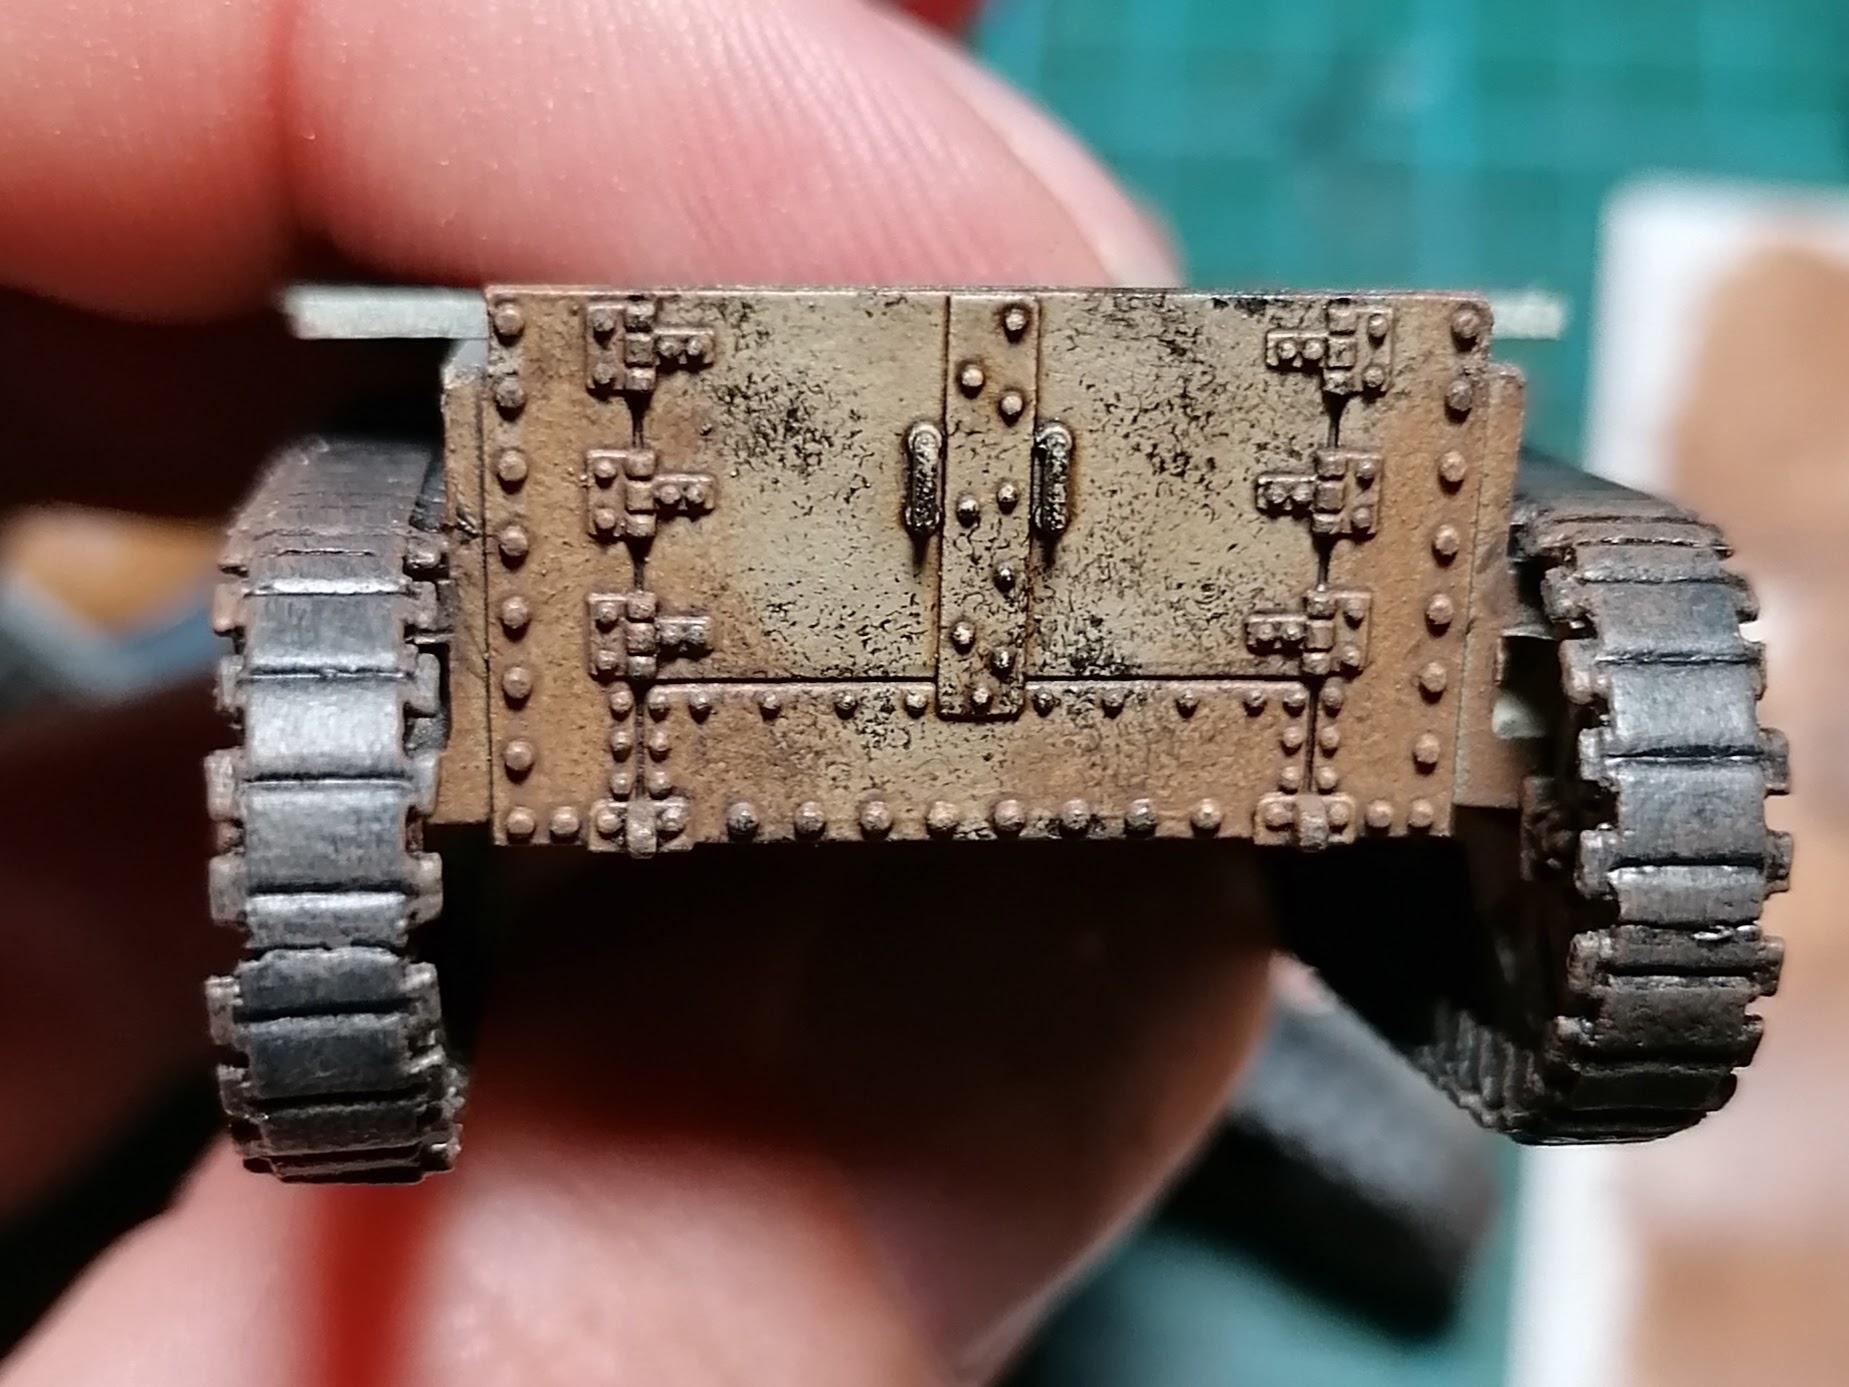
- Block the three main colours (see pic below)
- Fill in/second coat the main colours and endlessly straighten the dividing lines
- Paint wheels, tracks and lower hull (all Skeleton Bone and black with a bit of German Grey)
- Paint all other details (tools, lights, etc.; most of the crew)
- Varnish then apply, soften, and re-varnish decals (see my previous post for details on how I go about this)
- Weather everything with sponged black paint
- Wash Quickshade Dark Tone all over to accentuate the details and deaden the light colours
- Finish the crew
- Wash Quickshade Soft Tone all over to give it a softer but grubbier look. I like my toys quite dark.
- Vigorous drybrushing of Flat Earth all over the wheels, lower hull, spray patterns etc. and a lighter touch on upper surfaces too
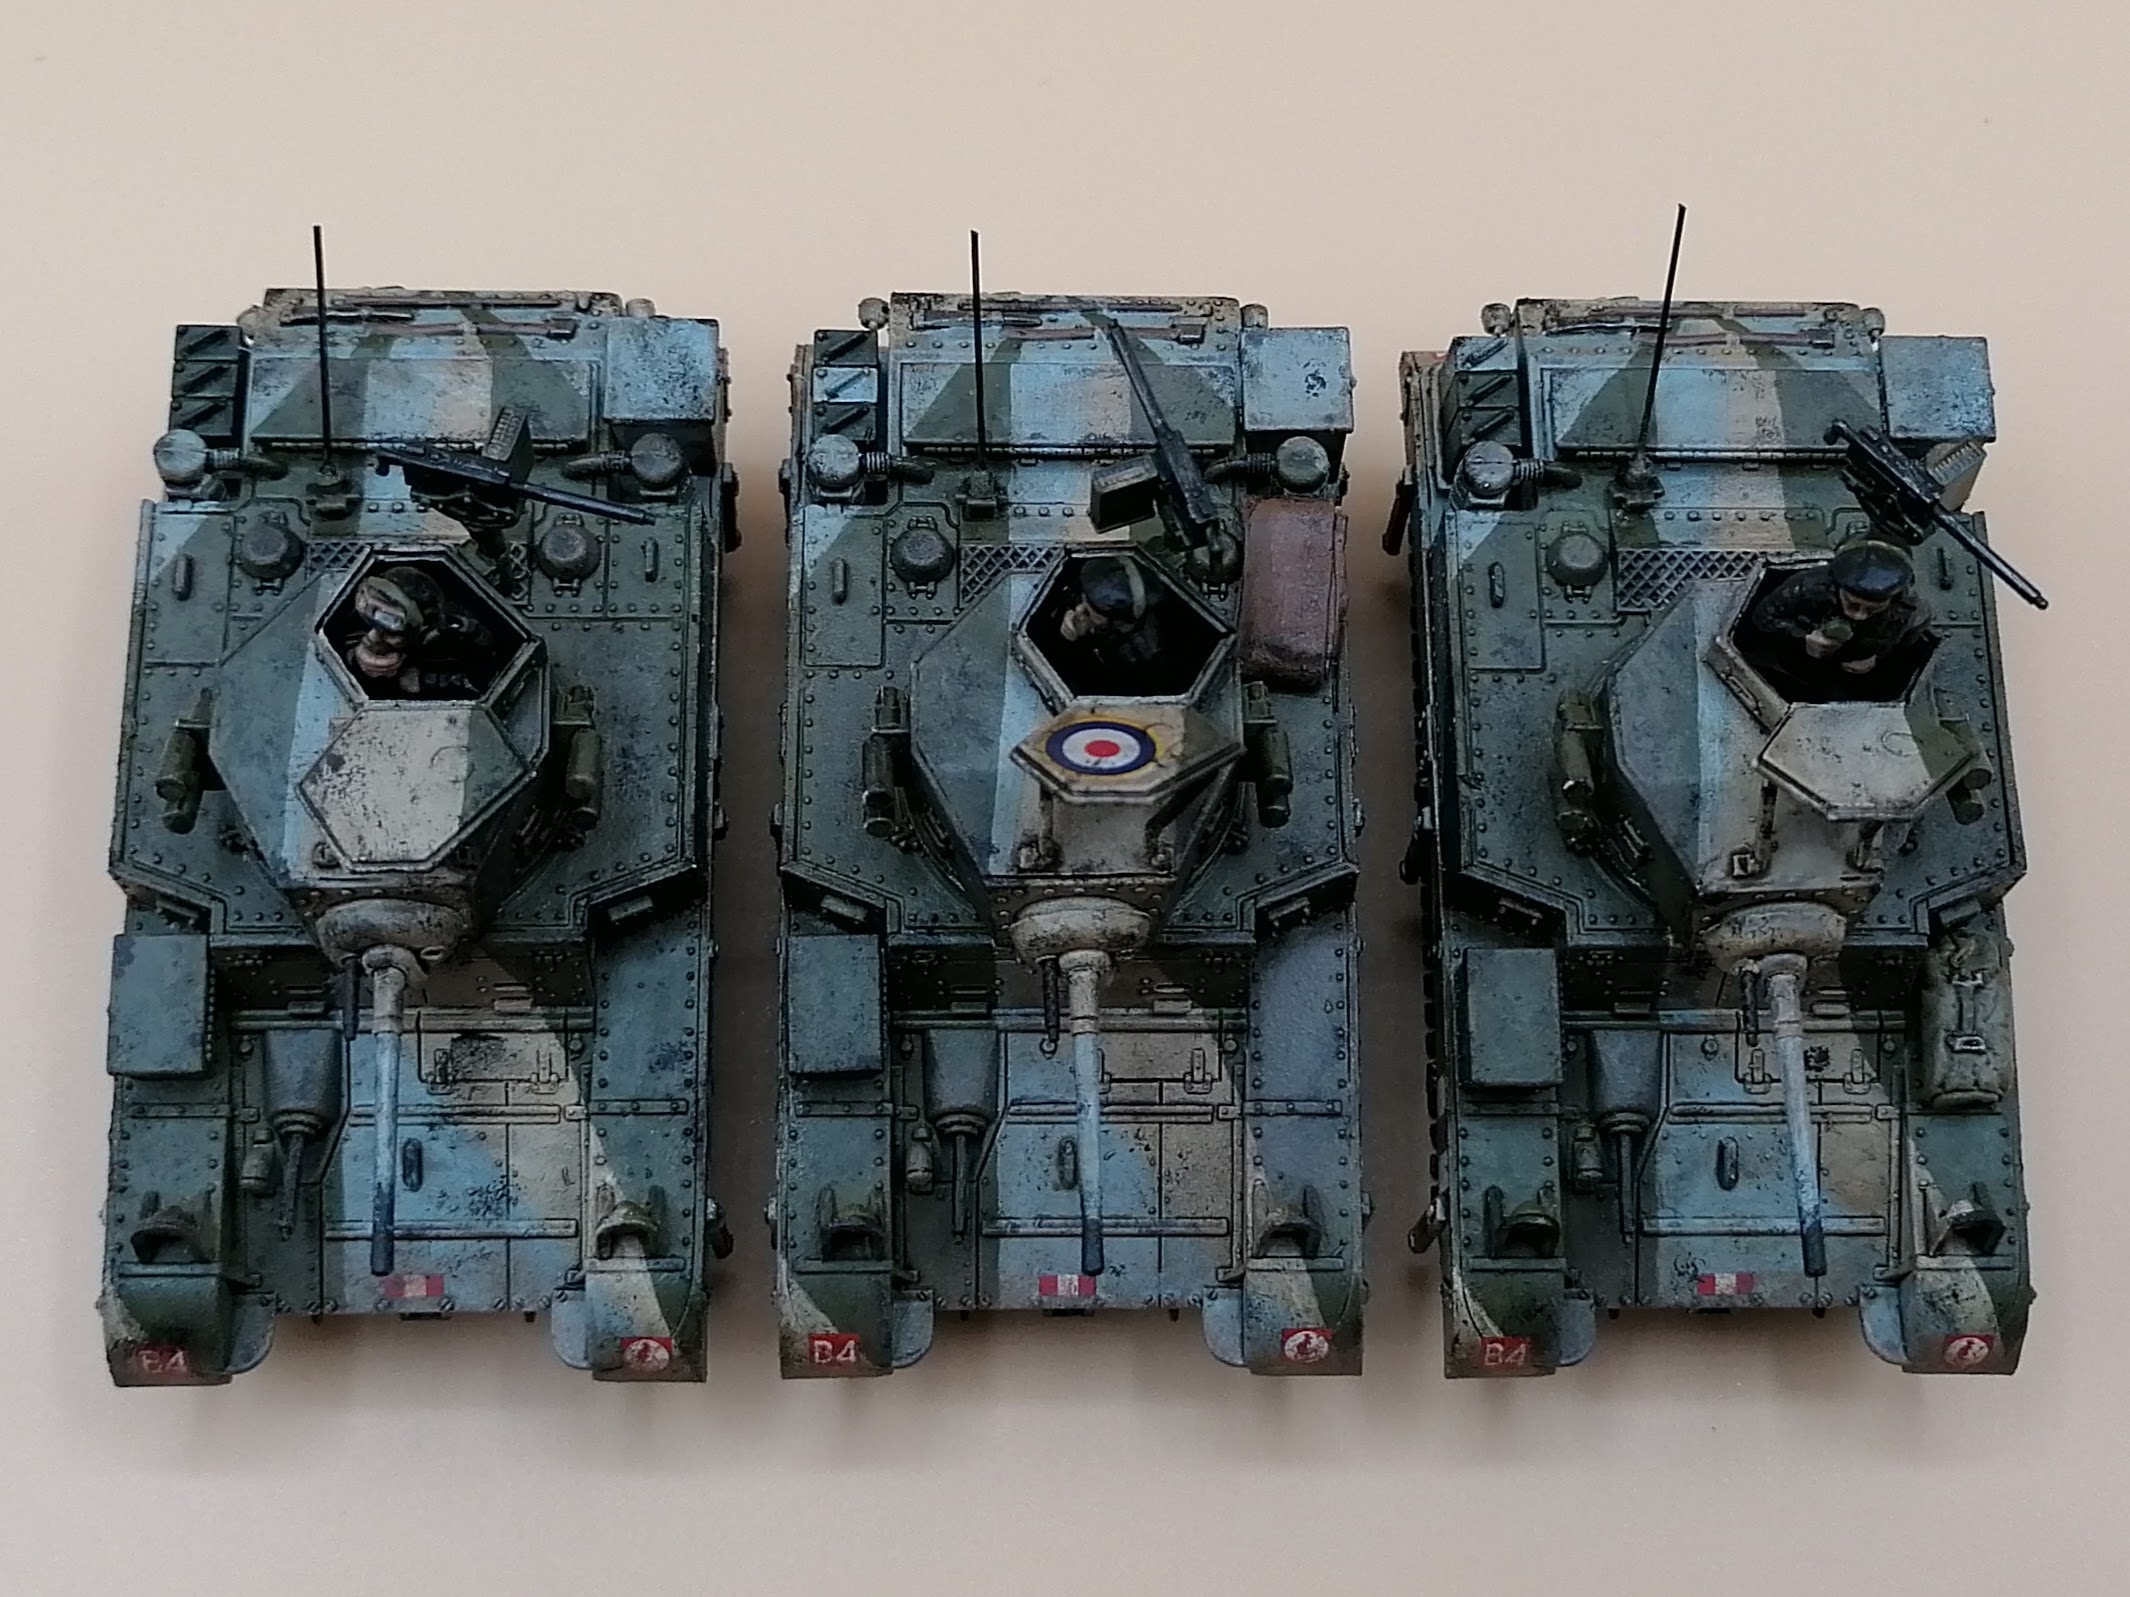
And that's it. Here's an earlier Work-in-progress shot, so you can see how very blue they look at first...
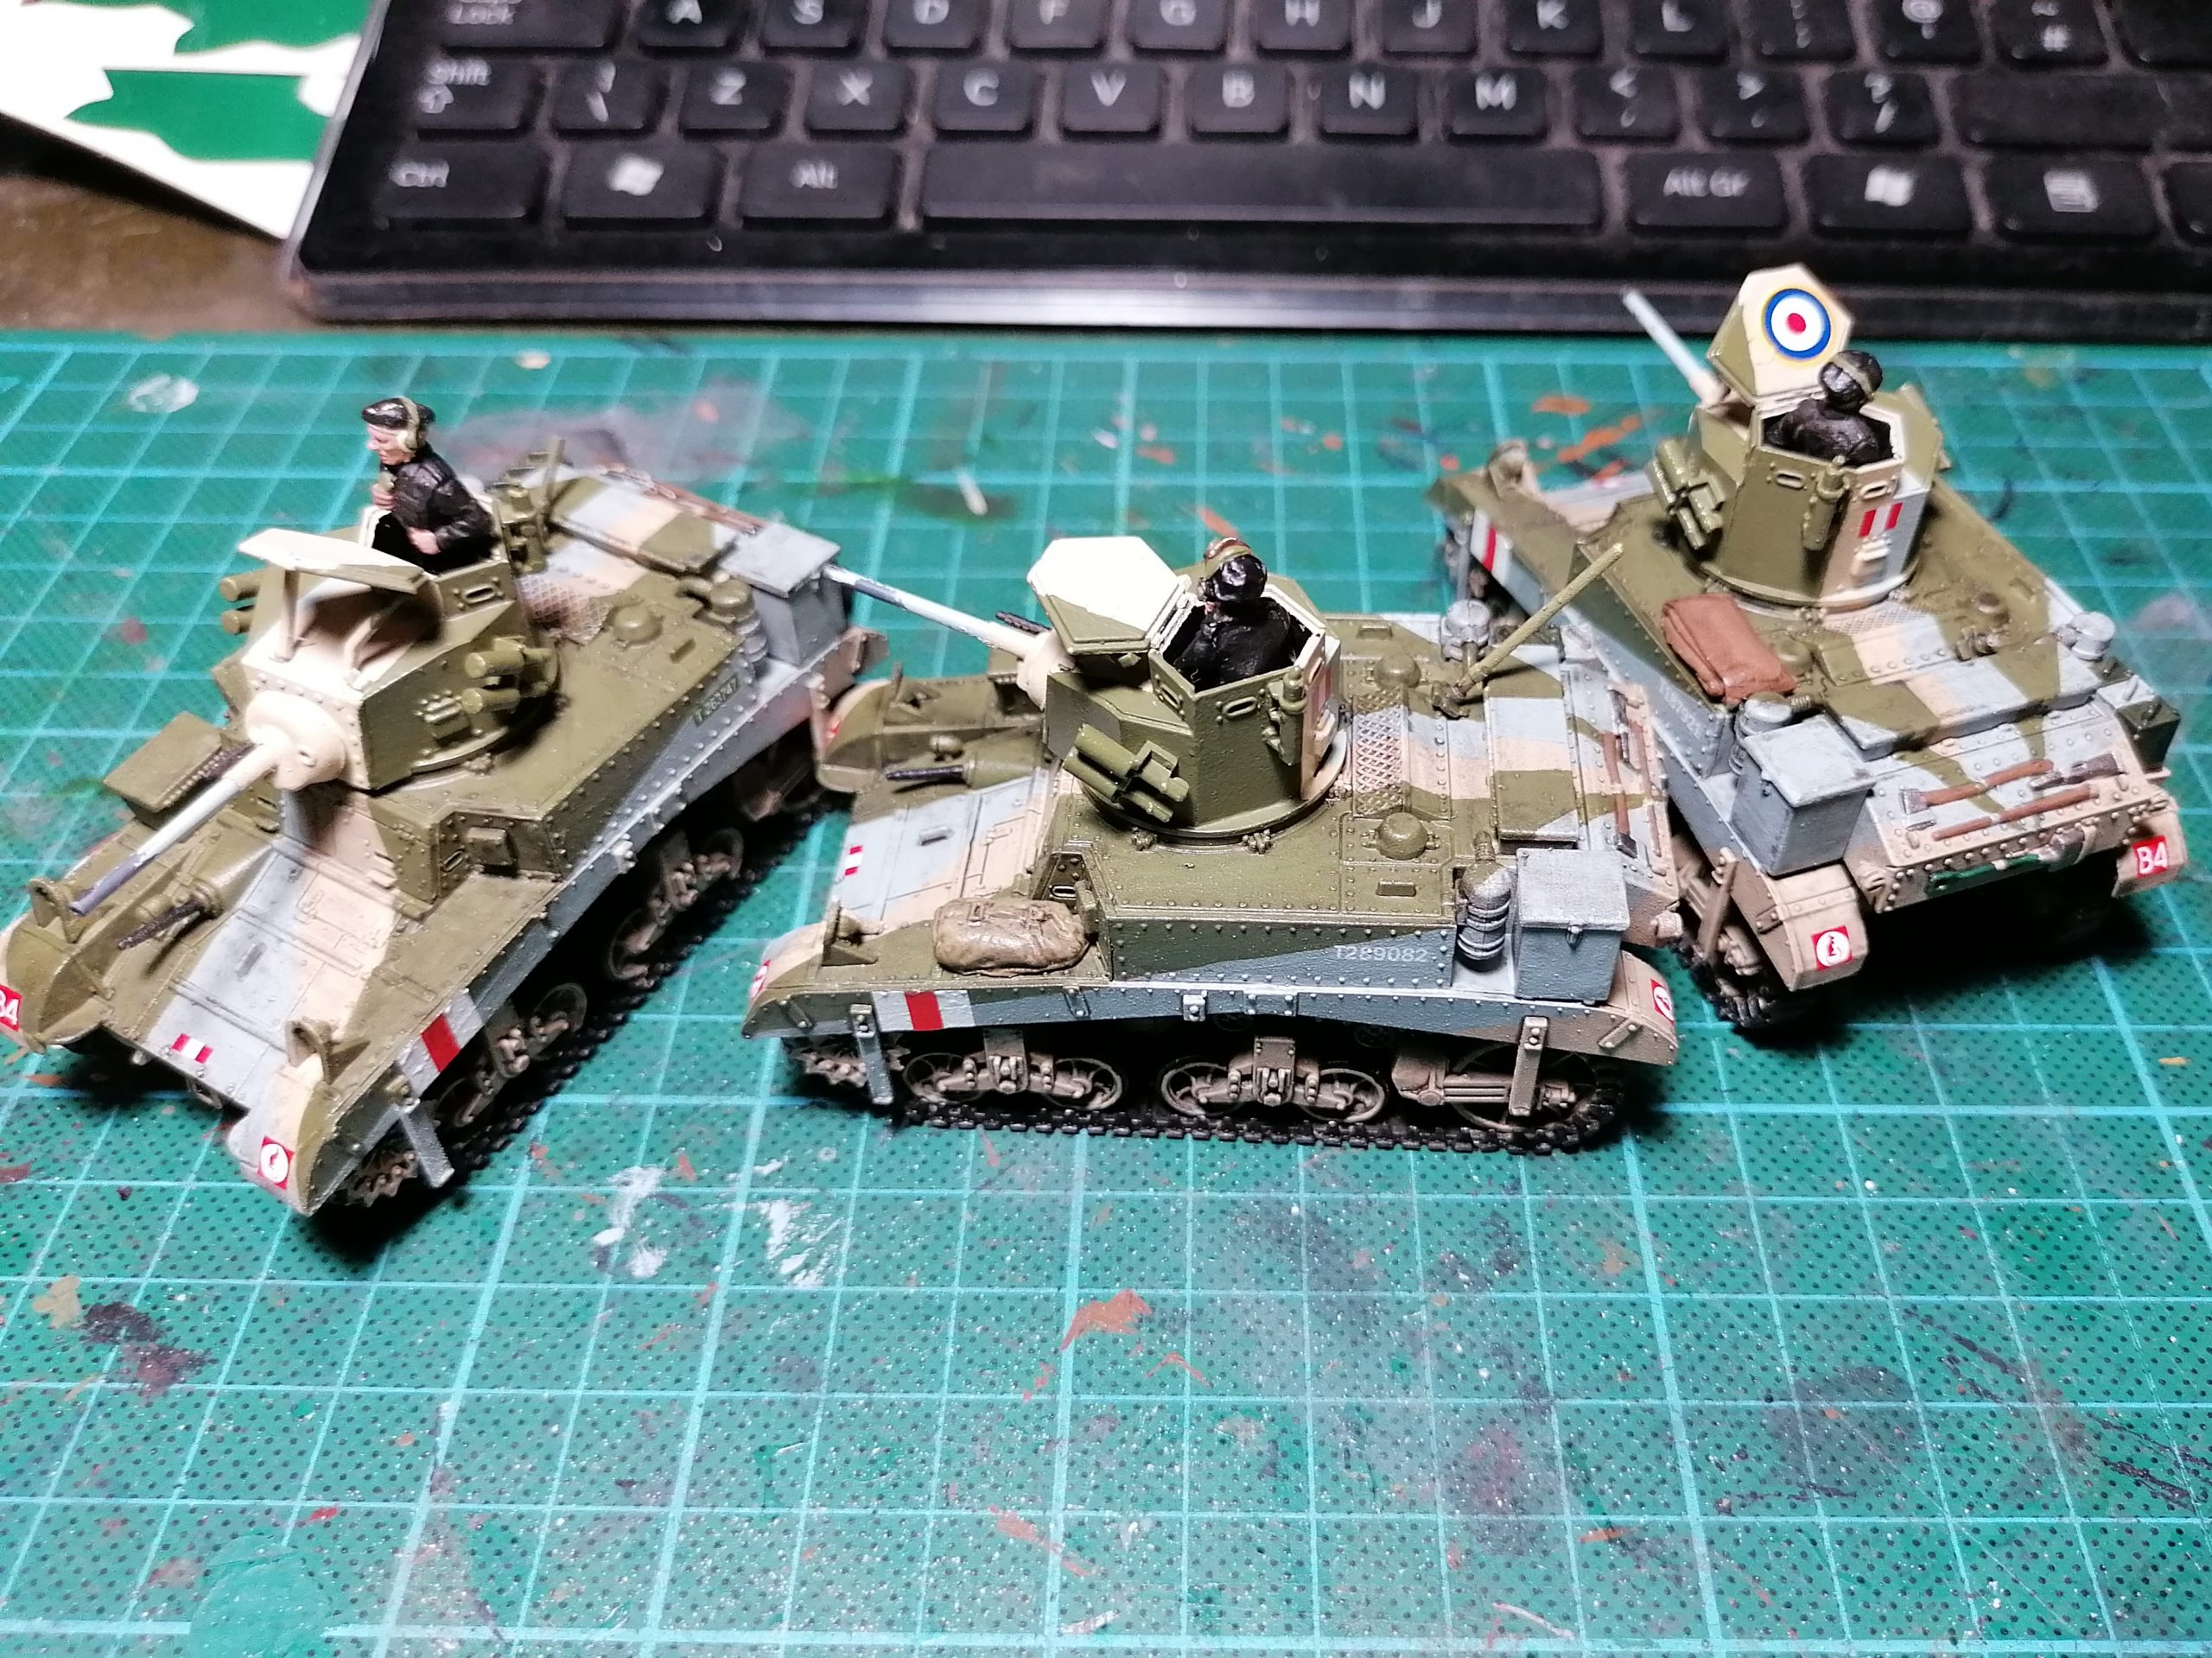
Chaaaaaaaarge!