Overcoming Airbrush Phobia
In my last blog, I talked about overcoming my phobia of airbrushes. Judging by the responses to that blog, I’m not the only one who suffered from this ‘phobia’. However I’d suggest anyone out there to give it a try and don’t be afraid of making a mistake or two. There was a steep learning curve but I think I’ve achieved pretty good results, considering it’s my first time. I believe anyone can get similar or better results with a little practice.
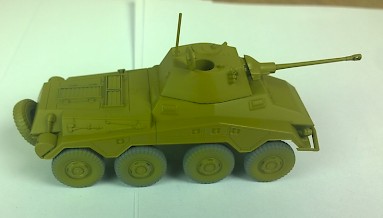
As I mentioned before, I’m using the AMMO Mig Jimenez wargame colour set for 1943-45 Germans. The ‘German Yellow’ or dunkelgelb was applied first over my original grey undercoat. This is as far as I got in my last blog… Now I cleaned out the airbrush and added the next colour.
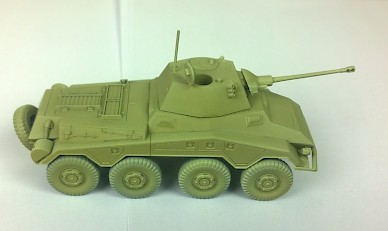
First highlight.
The first highlight was of the aptly named ’Dunkelgelb highlight’. I could have made up my own highlight by adding a small amount of ivory and mixing it with the original colour, but the ready mixed colours are very useful as they are ready to use and take the guessing away. The results were pretty amazing, I might have used a little too much but it looked fine if a little bright.
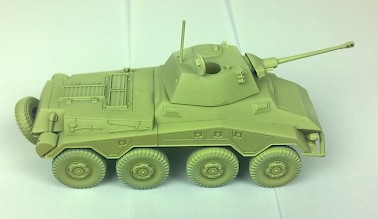
The second highlight (Dunkelgelb shine) just added to the effect. Again, I probably usd too much as the final colour was very bright - this colour may have been better applied with a brush to the upper edges of the vehicle by hand rather than being sprayed. The colour would however die down in intensity once a pin wash and dirt was applied to the model. Next came the camo stripes.
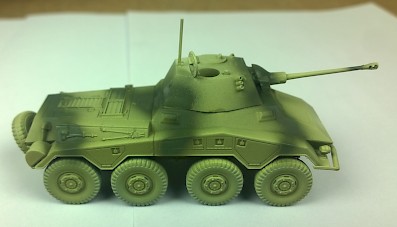
Next I hand sprayed ‘Olivgrun’, trying to recreate the jagged look of camo patterns. I was limited to keeping the detail to the spray-radius of the brush (approx 1/4” or 5mm). An alternative, for hard-edged camouflage, is the ‘Ruben Torregrosa’ Heresybrush method of using blu tack or modelling putty to block out sections of the vehicle while spraying.
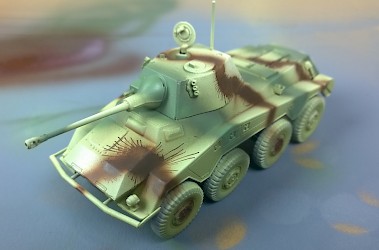
Disaster struck when I tried to apply the brown camo (Schokobraun). I had my first cast of ‘spiders’. An airbrush coat should be applied lightly. Apply too much in one area and you too may get spiders (or with the pressure too high). I had to redo the affected areas in the base and the highlight dunkelgelb colour.
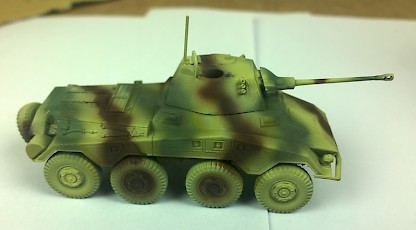
The final vehicle looks pretty darn ‘swish’ if I say so myself. It makes my previous vehicles looks very poor in comparison - in fact I think I’m going to have to do all my vehicles like this now… just to keep up with this standard. The vehicle is hardly finished, now comes adding the pin wash, transfers, painting the wheels and other details, and adding a vehicle commander. I’ll let you know how I get on…

